Why Should You Publish Regular Blog Posts?
Publishing regular blog posts can be a powerful marketing tool that drives traffic to your website, and subsequently, that traffic can be converted into leads. Moreover, blog posts can be repurposed as social media content multiple times.
For example, blog posts about your company’s work help build a relationship with your audience and build brand loyalty. Constant publication of well-written, informative blog posts can even establish your company as an authority or leader in the industry, thereby enhancing your website SEO.
Other than building brand awareness and cultivating loyalty from your existing audience, with the right SEO strategy, blog posts can also help you reach new potential audiences.
- For more information about Search Engine Optimization, read our guide here.
A study conducted on 1,531 HubSpot customers (mostly small- and medium-sized businesses), showed that companies that publish regular blog posts get 55% more visitors on their websites. It is important to have a regular timeline for your blog posts, regardless of your frequency of posting.
The following guide can help you use WordPress to publish your regular blog posts.
How to Publish a Blog Post on WordPress
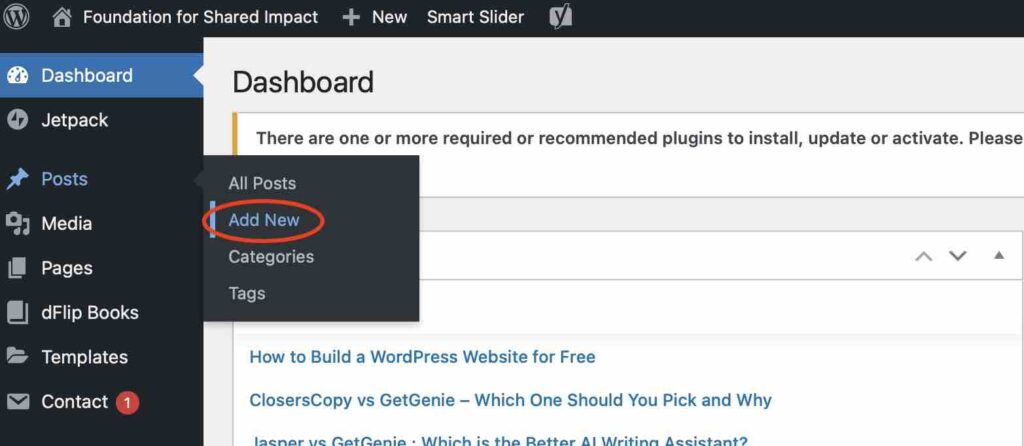
1. If you would like to start writing a new blog post, start by clicking the “Posts” tab, then on “Add New”.
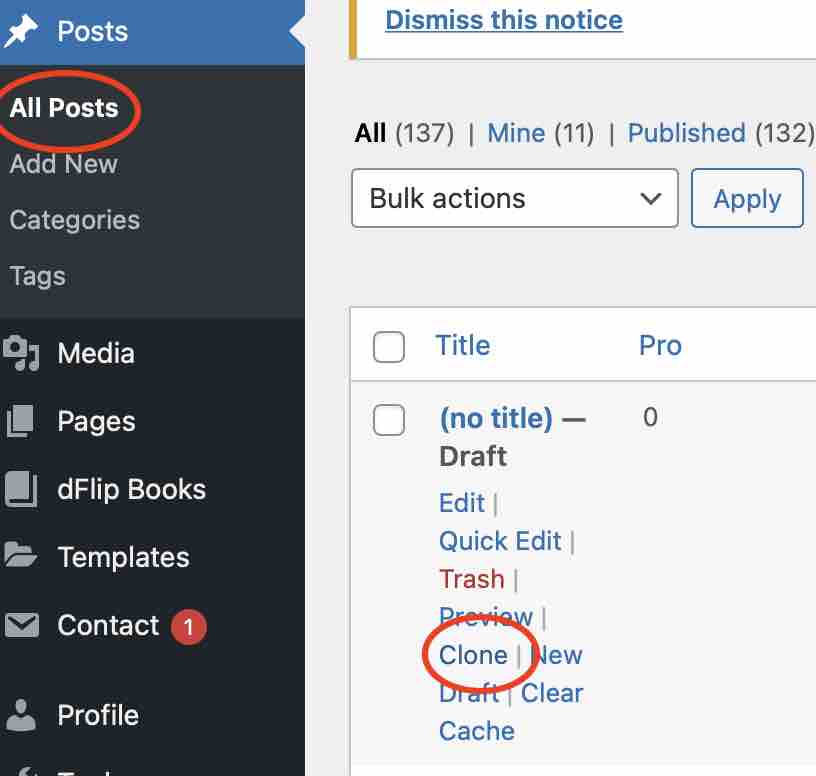
2. Alternatively, if there is a previous blog post you would like to duplicate and start from instead, then navigate to “All Posts”, hover over the relevant post and click the “Clone” button.
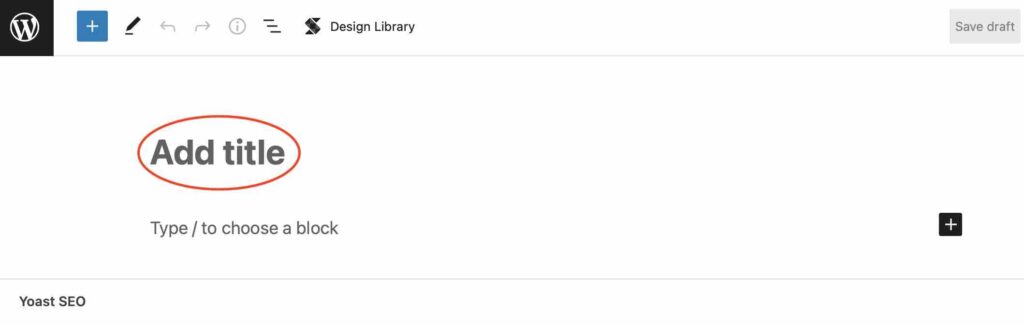
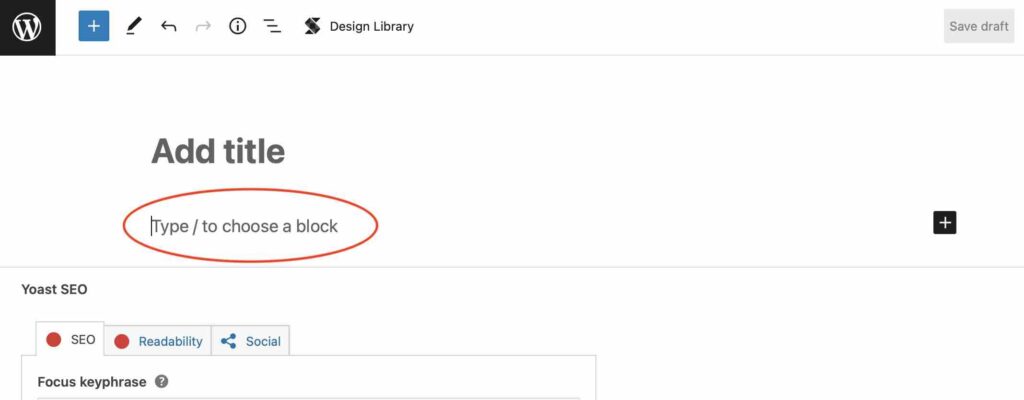
3. On the New Post, create a title for your blog post in “Add title”.
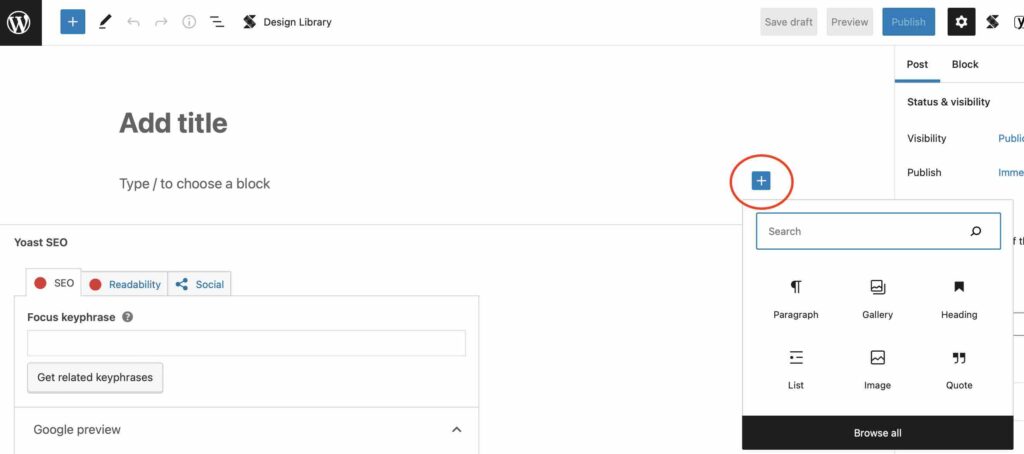
4. The next step is to click on the “+” icon, and choose “Paragraph” if you would like to start writing a new paragraph. Click on “Gallery” or “Image” if you would like to add a photo to your blog post. “Gallery” allows you to upload multiple photos at a time and have them displayed together, while “Image” is used to upload a single photo.
Make sure the image file is not too big (less than 200KB is ideal). It is recommended to start off with a few paragraphs before adding your first photo, because the first photo your readers see when they open the post will be the Featured Image, which you will need to upload as the custom header image or thumbnail for the blog post.
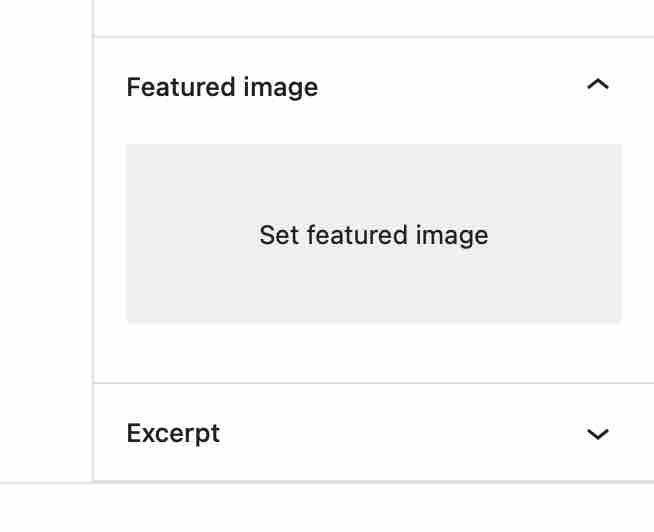
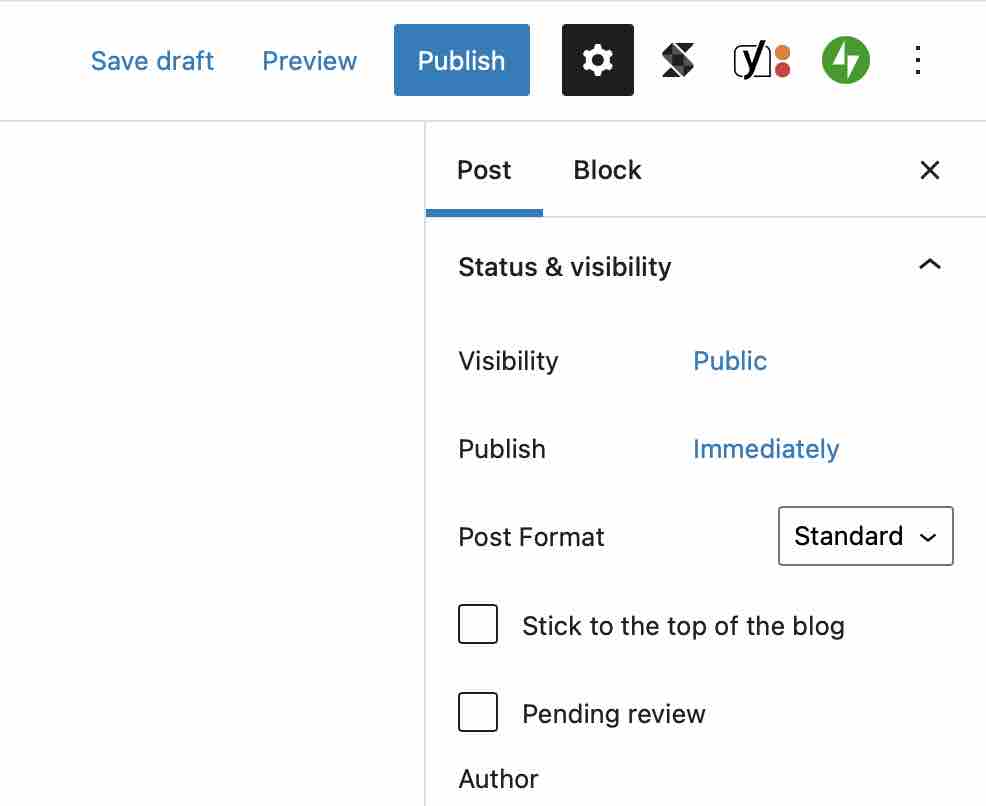
5. You can upload your thumbnail by clicking on “Set Featured Image” in the bottom right corner of the Post Settings panel. (If you can’t see the Post Settings panel, you may need to click on the ⚙️ (gear) icon in the top right corner to bring it up.)
6. Then you can start typing directly into the text box below or copy-paste from a Word Doc or Google Doc. It is always a good practice to write in a document first so that in case something happens to the website, you still have backup copies of your content.
7. If there are hyperlinks in your blog post, make sure the linked pages open in a new tab. You can do that by clicking the hyperlinked text and choosing the “Open in new tab” option shown below. You can also click the pencil icon to edit the link.

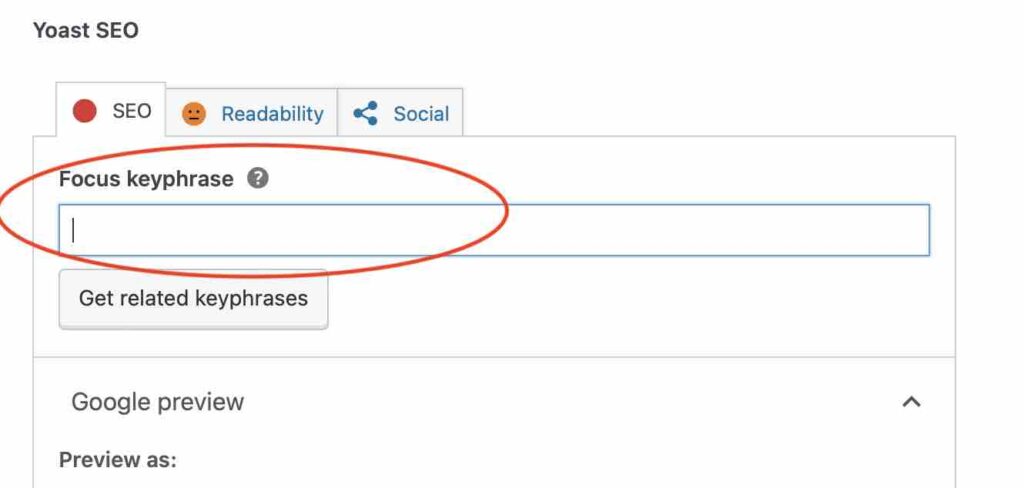
8. After you have finished inputting the blog post text, enter the “Focus keyphrase”, which is the search term that you want your blog post to rank for most in search engines. In other words, when people search for that term, they should find your blog post. The optimal focus keyphrase is a phrase that people search for a lot. This will help more people land on your blog post.
So, how do you go about finding the right focus keyphrase for your blog post? You can try typing your potential focus keyphrase into Google Search to see what will come up. This will help you find out your audience’s search intent. It is also important that your focus keyphrase contains words that are repeatedly used in your article because that’s essentially how search engines decide on what your blog post is about. Watch this video to learn how you can optimize your focus keyphrase.
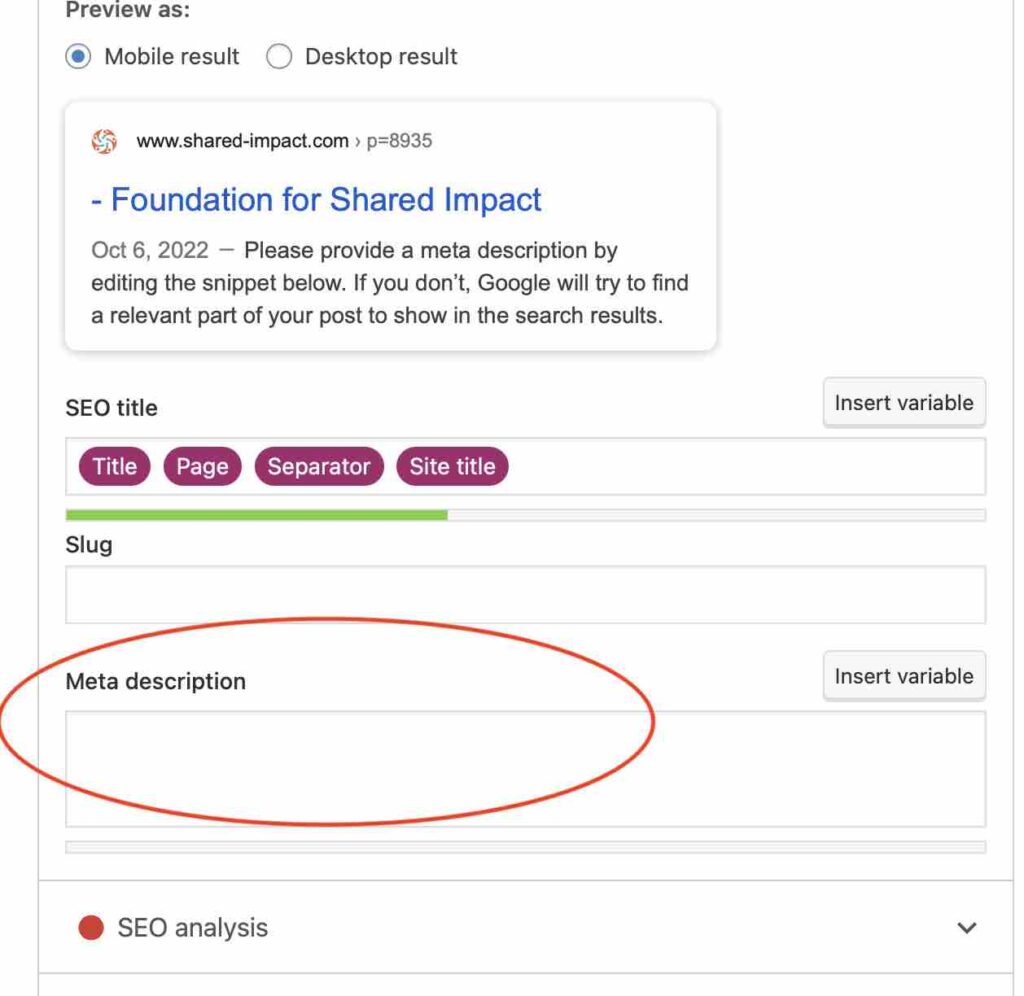
9. Next, add the “Meta description”, which is a brief description of the blog post that is displayed along with your blog post’s title on search engines. It needs to be the right length – not too short to fail to communicate the point of the blog post, not too long that it overruns the space in the mobile interface. You can see if your meta description is of the right length from the “Google Preview” or the green bar below the “Meta description” box. If the bar is orange instead, that is an indication that the length of the meta description is not right.
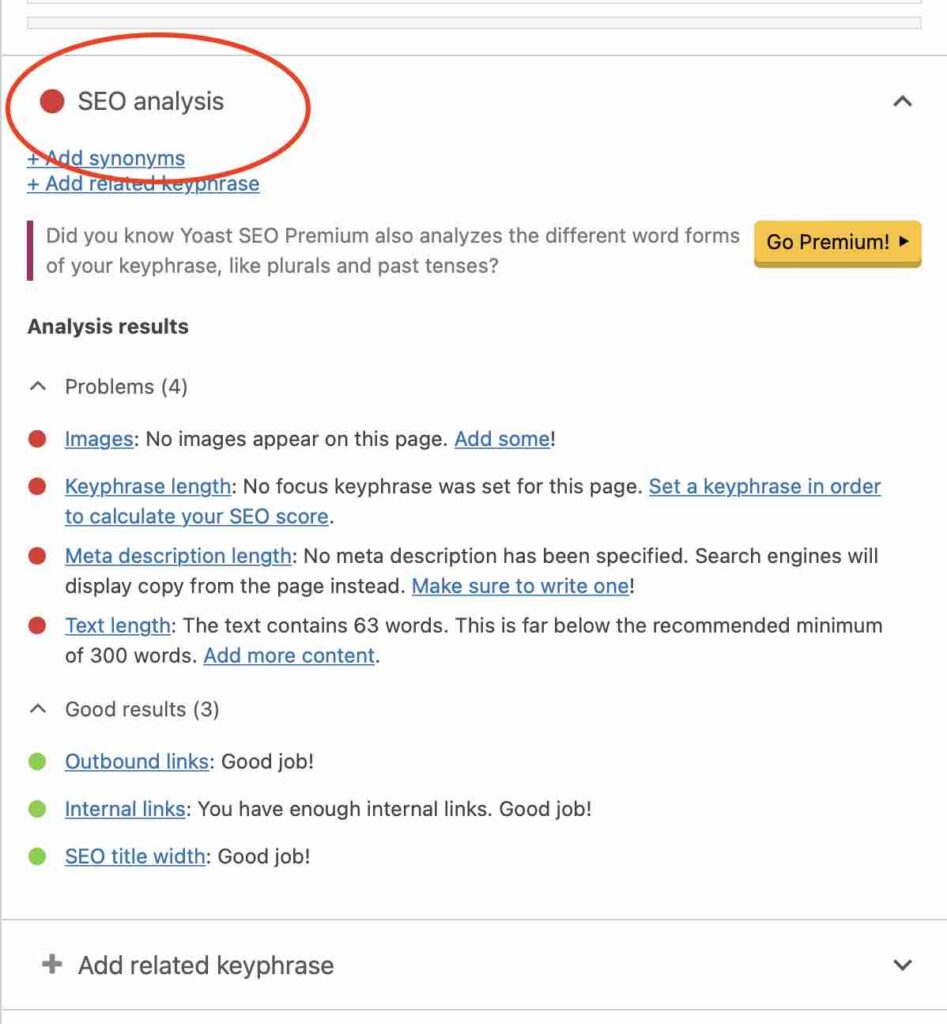
10. When you click on the “SEO Analysis” tab, you can find some tips on how to improve the SEO of your blog post. You want to aim for the green light, of course!
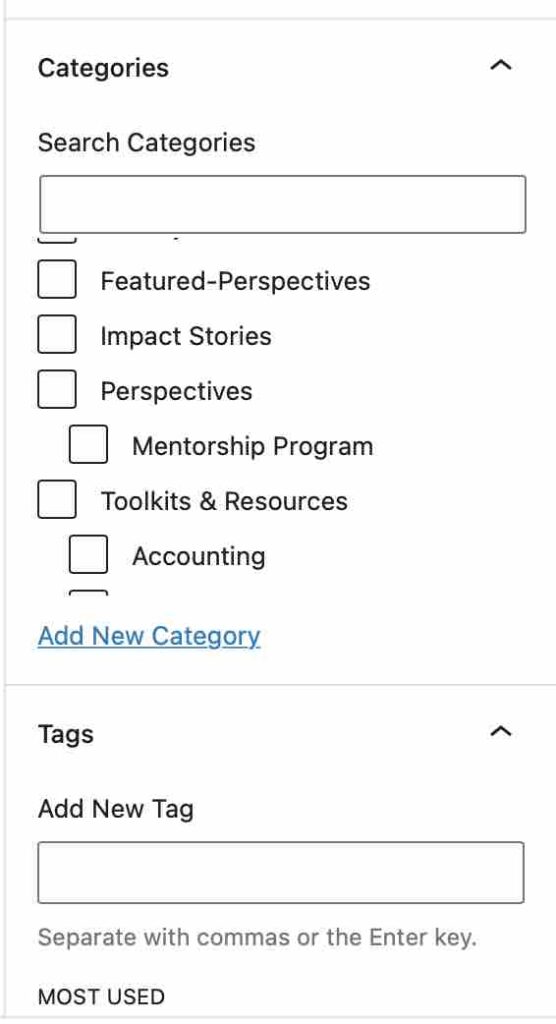
11. To make sure your blog post lands on the pages/sections on the website as you intend it to be, head over to the Settings panel on the right-hand side, choose “Categories” (to make sure your blog post ends up in the right place) and “Tags” (to help readers navigate the content on the website).
12. On the bottom of the Settings panel, click on “Excerpt” to add a short summary of your article.
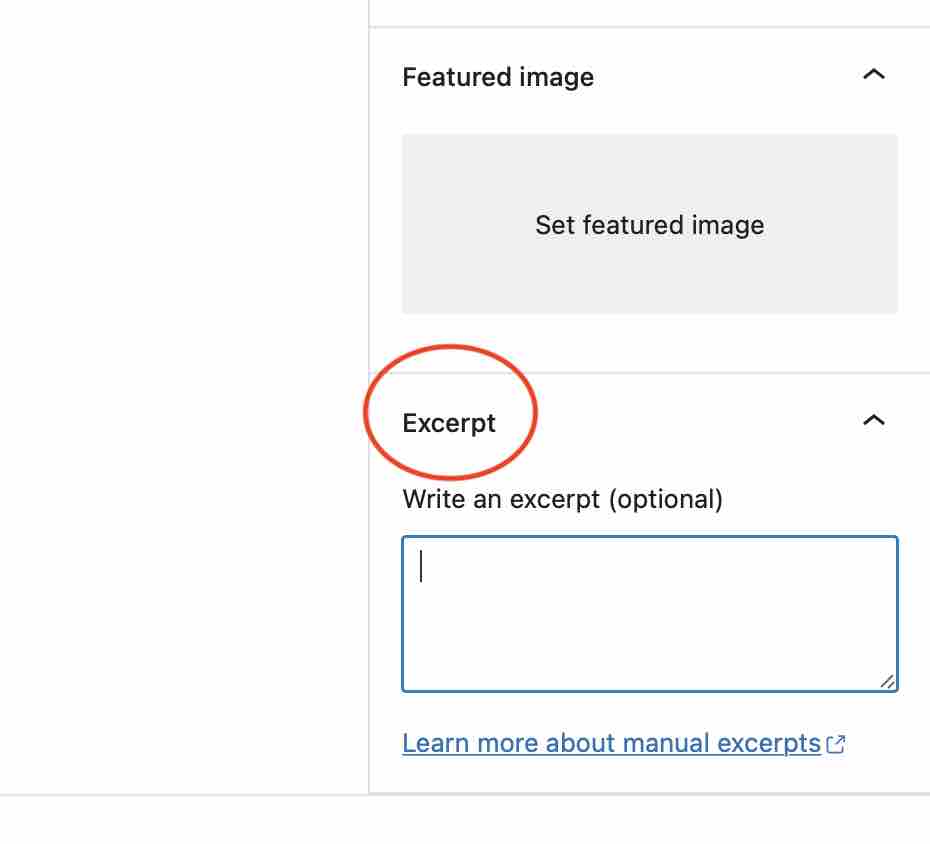
After publishing the article, your excerpt will appear similar to this:

13. Finally, you can click “Preview” in the upper right corner to see what your post will look like when it is published. If you are happy with how the preview looks, you can either “Publish” the post immediately, or schedule the publication time and date.
After completing all of the above steps, the blog post should be viewable on your website, and should appear something like this:

We hope this article was helpful to you in publishing blog posts for your business. If you would like to read more guides that are useful for entrepreneurs, head over to our Entrepreneur’s Toolkit!