Introduction to Paypal

PayPal, one of the leading online payment service providers in the world, offers a convenient and quick solution to online payment both for the payers and the payees. If you run an e-commerce business or provide a service where you would want your customers to pay online (even donations), you should consider to offer Paypal as a payment option for their convenience.
PayPal and Stripe provide very similar services – read Payment Processing – Integrating Stripe with your website if you would like to know more about PayPal and how to integrate it with your website.
Note that PayPal charges commissions and fees per transaction, but here’s why you should still consider it:
- Your buyers may be existing account holders of PayPal, in which case the one-click payment process is much easier compared to cash or manual bank transfers (Do also note that PayPal offers an option for you to allow customers without PayPal accounts to make a purchase and pay through credit or debit card). Ease of making a payment is an important factor that encourages visitors to buy your product/service.
- You can easily manage invoicing, bills, and payment tracking via PayPal.
- There is no maintenance fee, you would pay the commissions and fees only when you get incoming payments from your buyers.
- PayPal makes it easy for international buyers to purchase your product/ services, compared to the traditional bank transfers which can be problematic for cross-regional transactions.
Setting Up Your Business Account
Before you can integrate PayPal into your WIX or WordPress website to allow your customers to pay through PayPal, you first need to set up your PayPal business account.
- Go to Paypal and click Sign Up, and choose to set up a “Business Account”
- Enter your business email account
- Enter password for your new business account
- Enter your business contacts and details
- Select your business type and category to sign up.
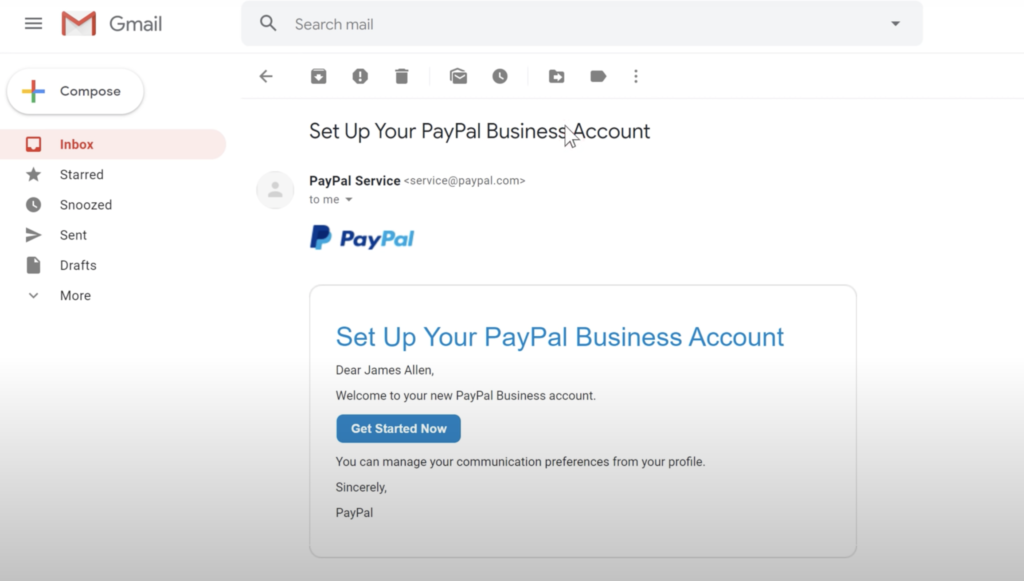
- You will receive an email from PayPal to complete setting up your account → Click ‘Get Started Now’
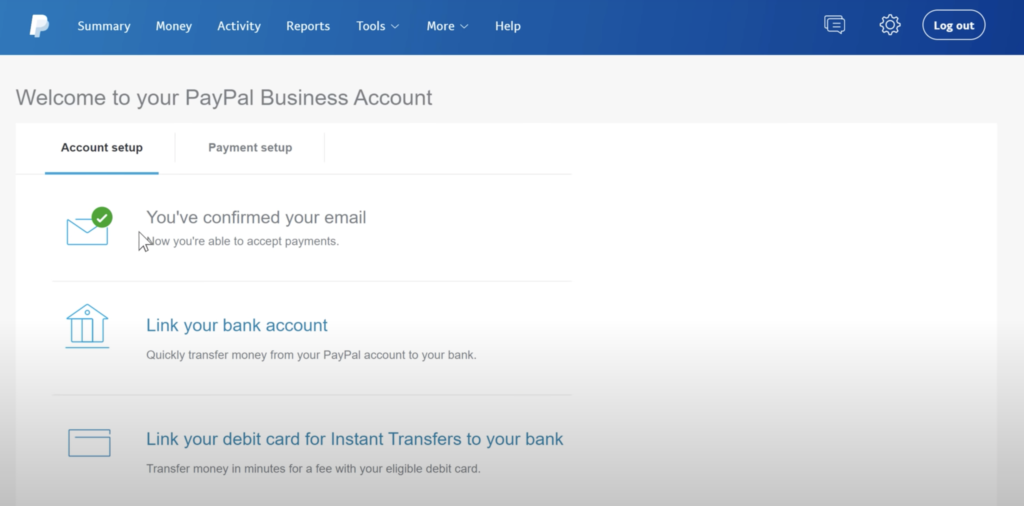
- You will be taken to this page below → Click ‘Account setup’ → ‘Link your bank account’ to connect your business bank account with your Business PayPal account for transfers.
- Once it’s done, you are all set now!
Integrate PayPal with Your Website
1. WordPress Website
Once you have a PayPal business account ready, it is quite straightforward to link it to your website. However, you need to have the WooCommerce plugin installed on your WordPress. The plugin is free, and easy to use.
Take 5 min to watch the video below to install the WooCommerce plugin, or follow our steps listed below.
- Go to Dashboard of your WordPress Website → WooCommerce → Settings
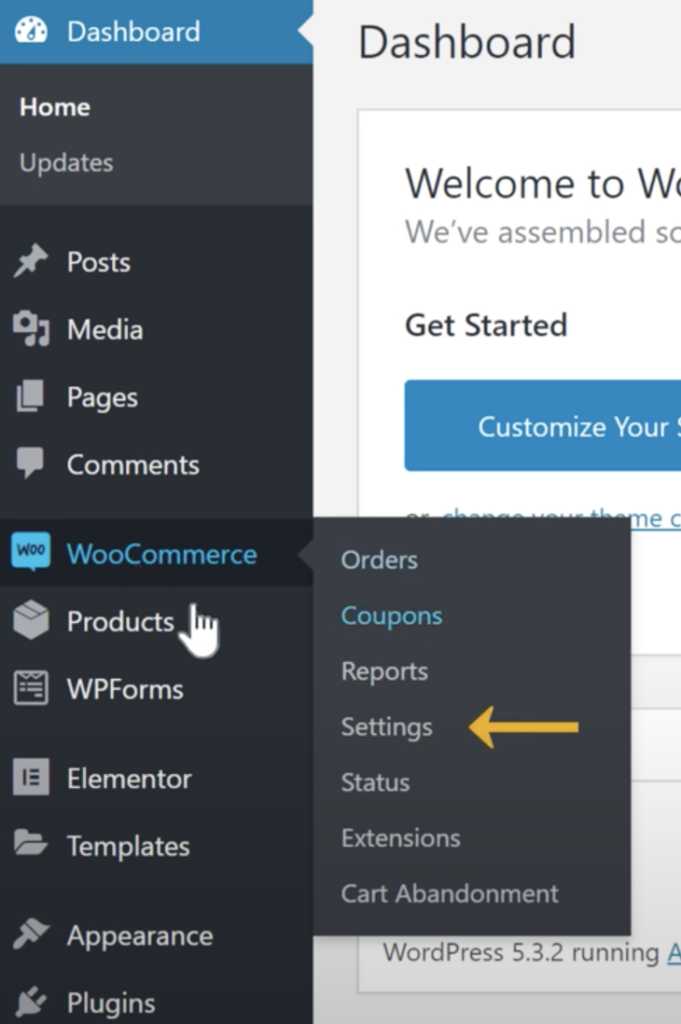
- Go to ‘Payments’ Tab
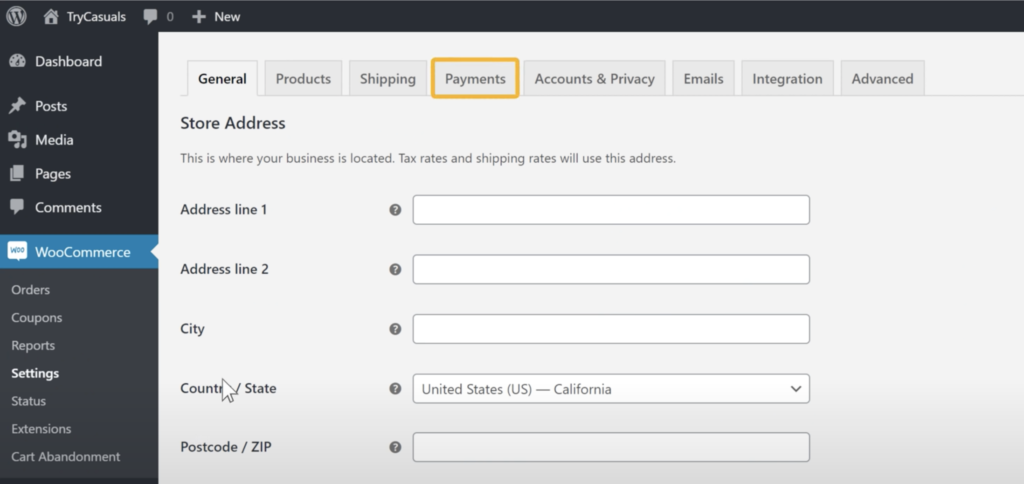
- PayPal should already be there! Click ‘Set up’

- Tick the ‘Enable PayPal Standard’ box → Enter your PayPal business account email
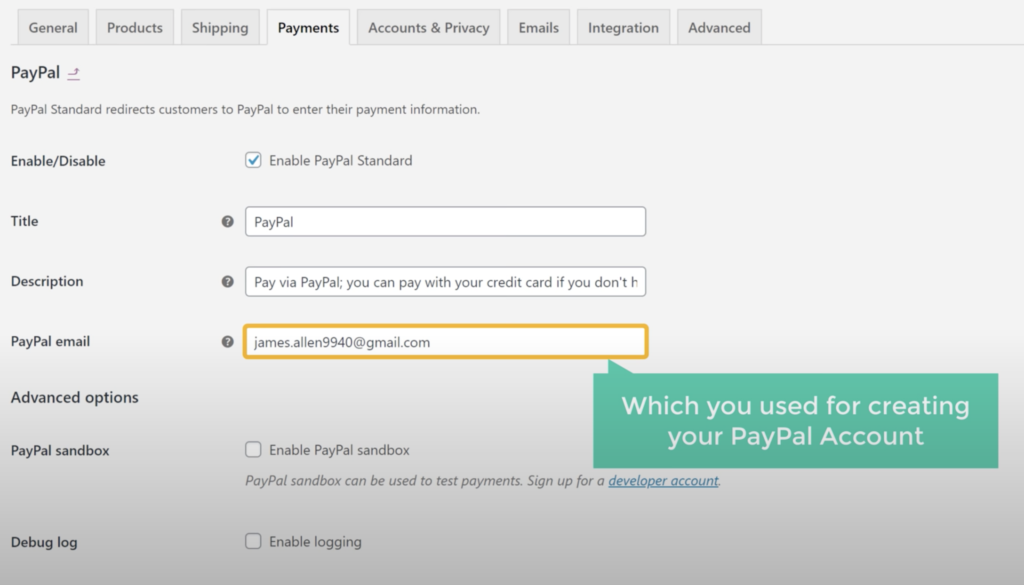
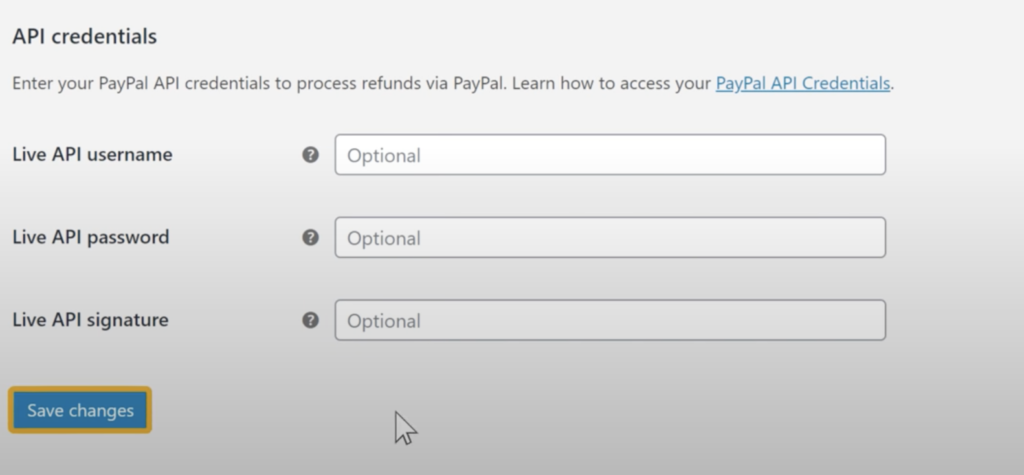
- Scroll down and click ‘Save changes’ → and you are all set! Now customers will be able to pay with their PayPal account and payment will be transferred to your registered bank account through PayPal.
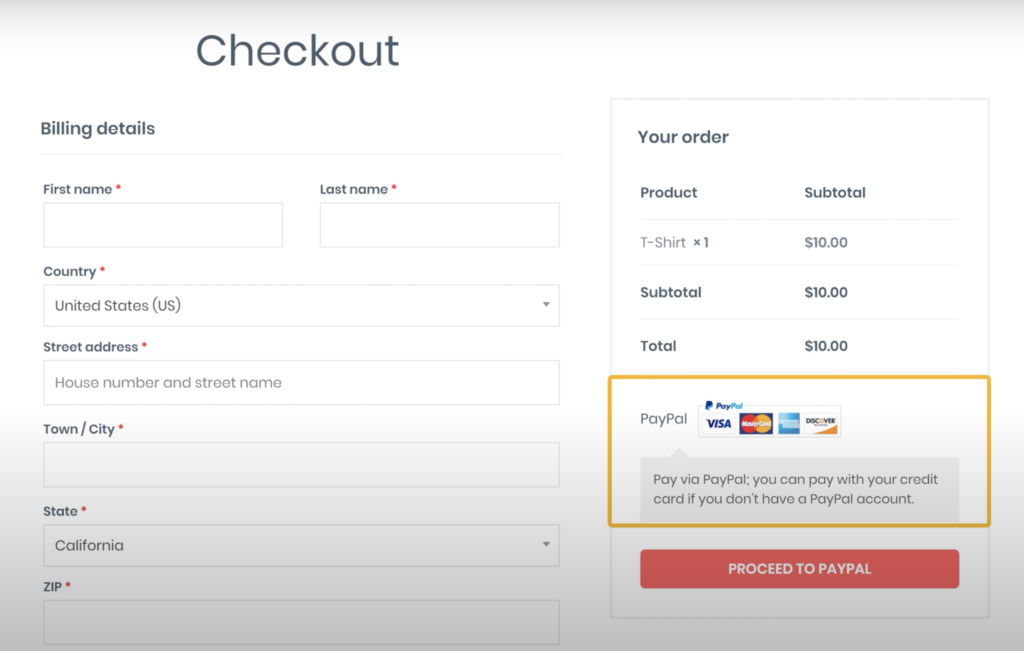
- Here’s what your customers will be seeing after the set up is done.

Customise Your PayPal Button – WordPress
You can customise your PayPal button to receive donation (if you are a non-profit organisation) and also customise where you want to place the button on your website pages.
- Read more about setting up PayPal Donate button on WordPress here – https://www.wpbeginner.com/beginners-guide/how-to-add-a-paypal-donate-button-in-wordpress/
- Read more about adding PayPal buttons on your desired places on your WordPress website here – https://wordpress.com/support/paypal/
2. Wix Website
If your website is built on Wix, you can customise the PayPal interface for your customers. While it is very quite easy to enable PayPal on your Wix website, you should be subscribing to the paid plans on Wix to enable the function. Assuming so, below are the steps:
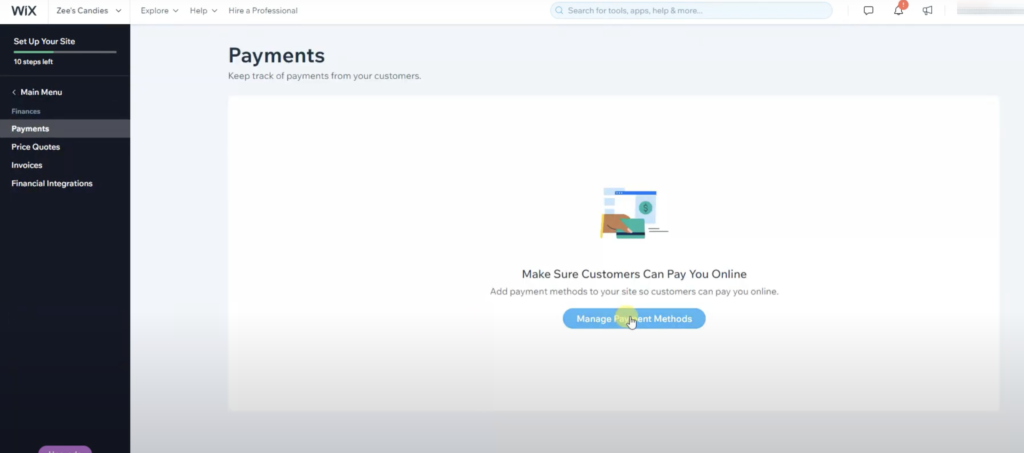
- Go to Dashboard → [Finances] → [Payments] from your Wix Dashboard.
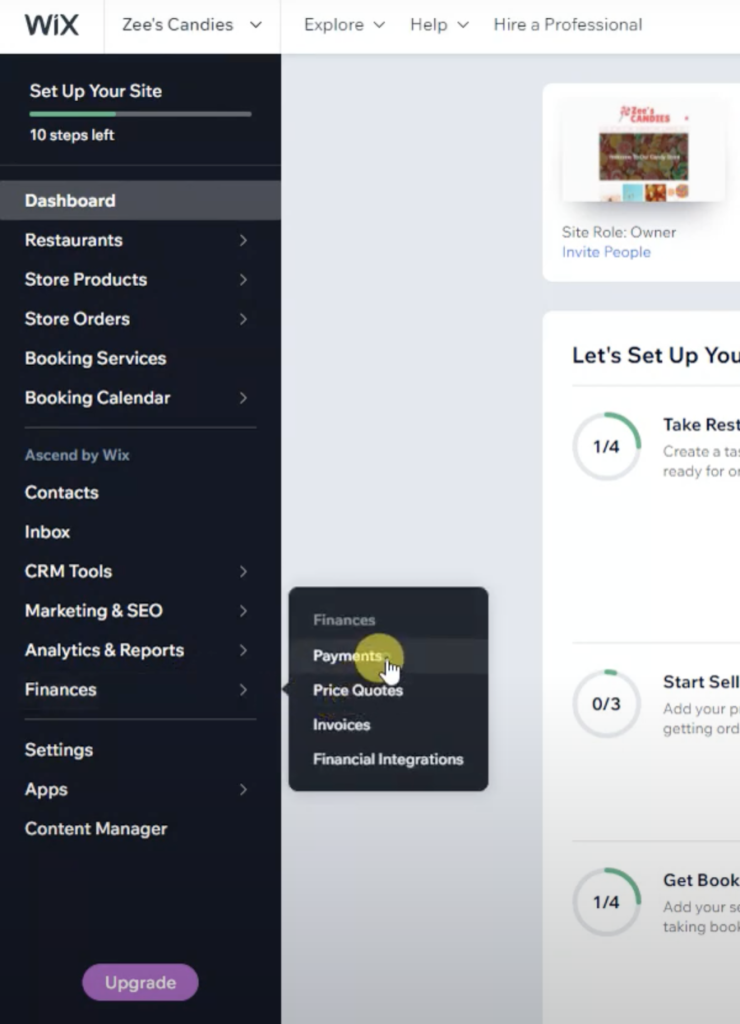
- Click [Manage Payment Methods].
- Click [Connect] next to PayPal → Enter your email address (for your PayPal Business Account).

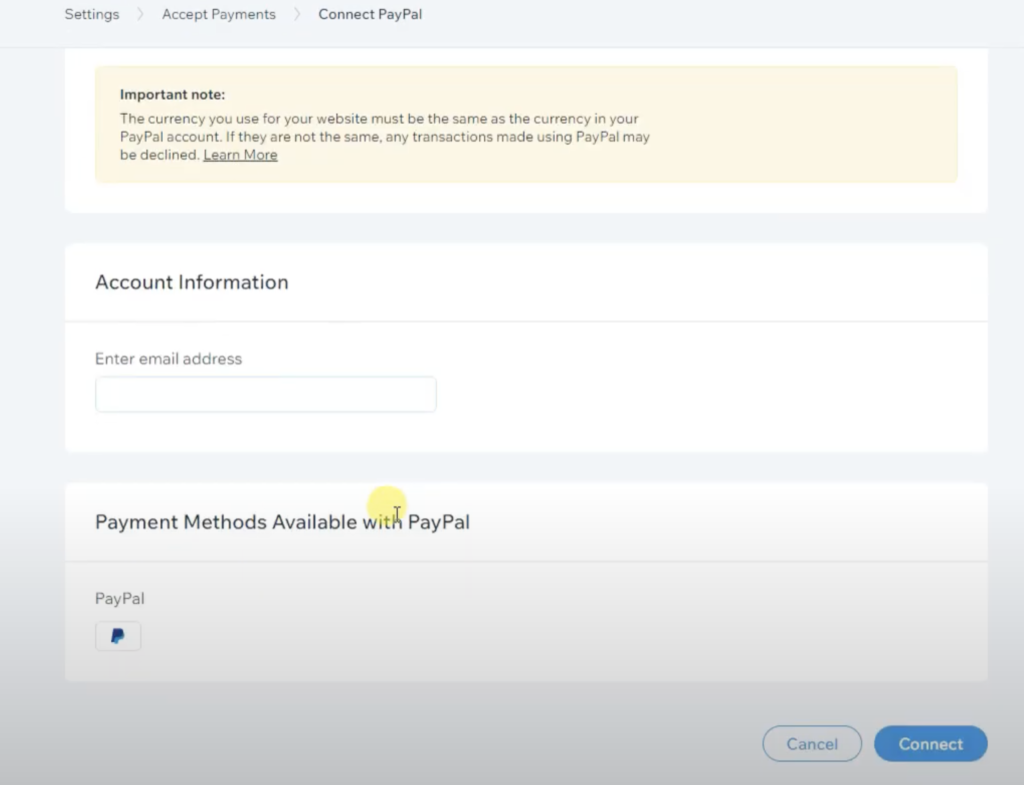
- You are all set! Now PayPal check out is available on your Wix Website.
Customise Your PayPal Button – Wix
Wix allows you to place a direct Paypal checkout button anywhere on your website, and you can also customise the button’s layout and design.
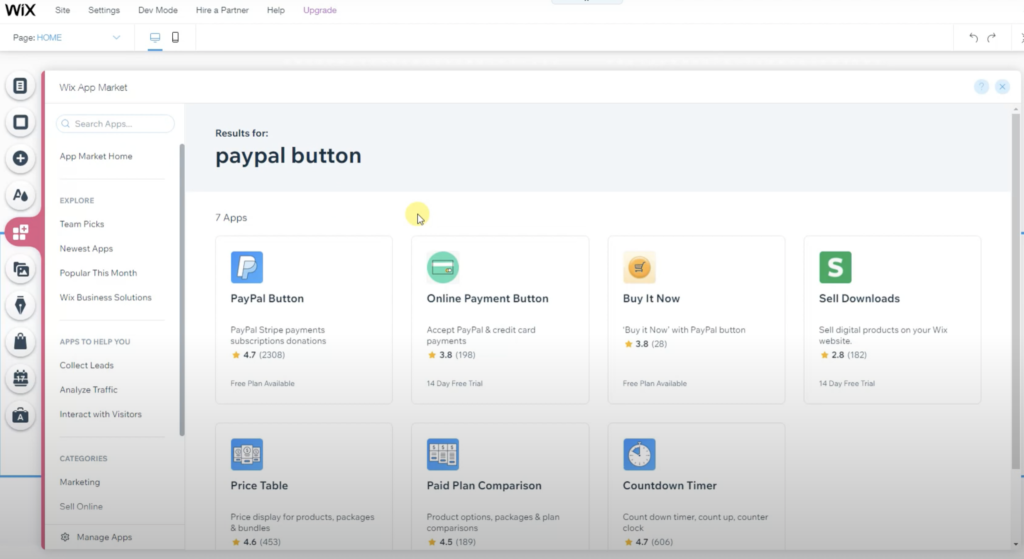
- On your Wix Editors website → Click [Add Apps] on the toolbar on the left → Search for “PayPal Button” → Click on PayPal Button
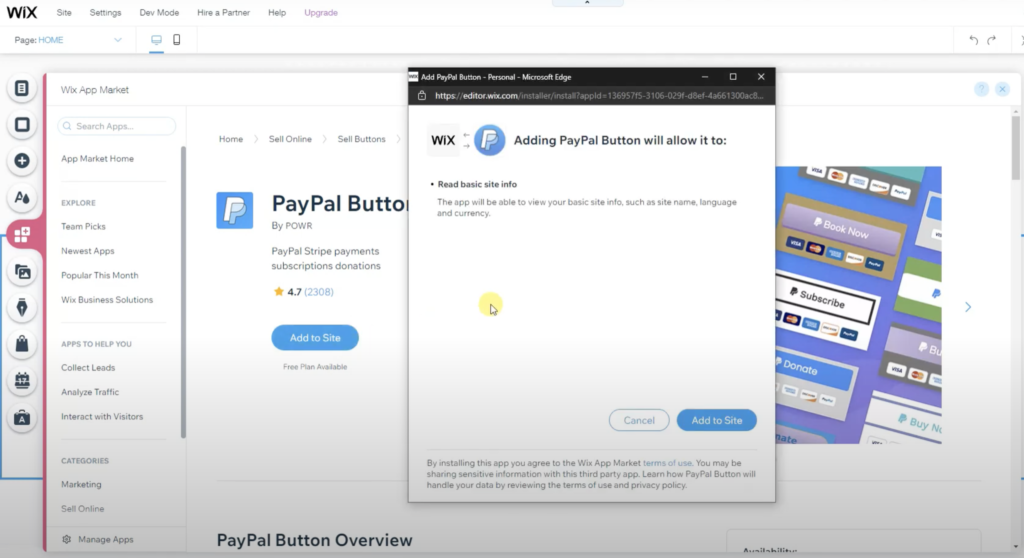
- Click on [Add to Site], and you should now see a “Buy Now” PayPal button that you can move around to locate it wherever you want on the page.
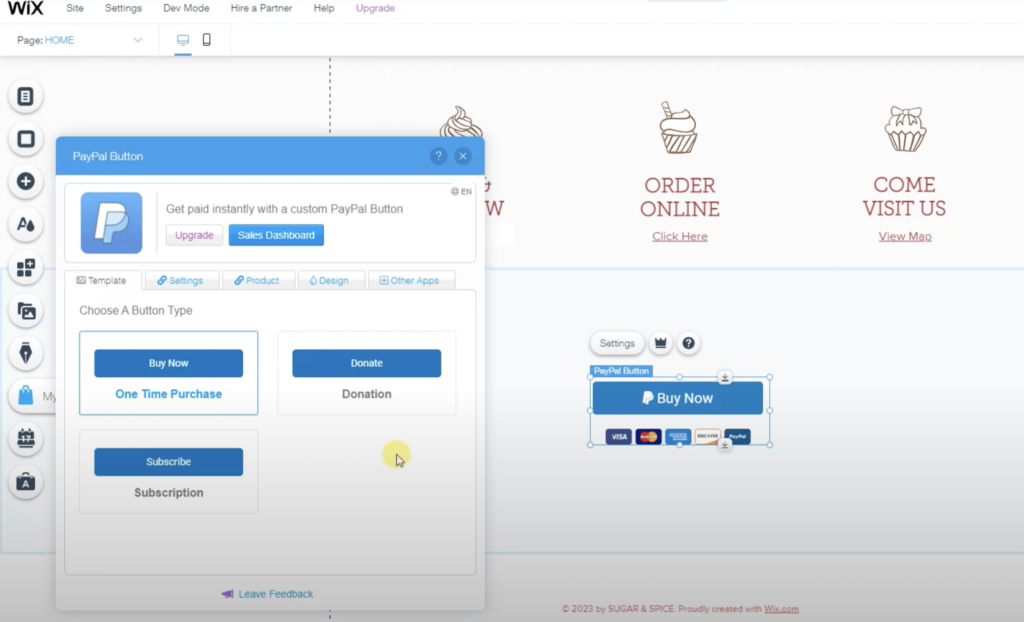
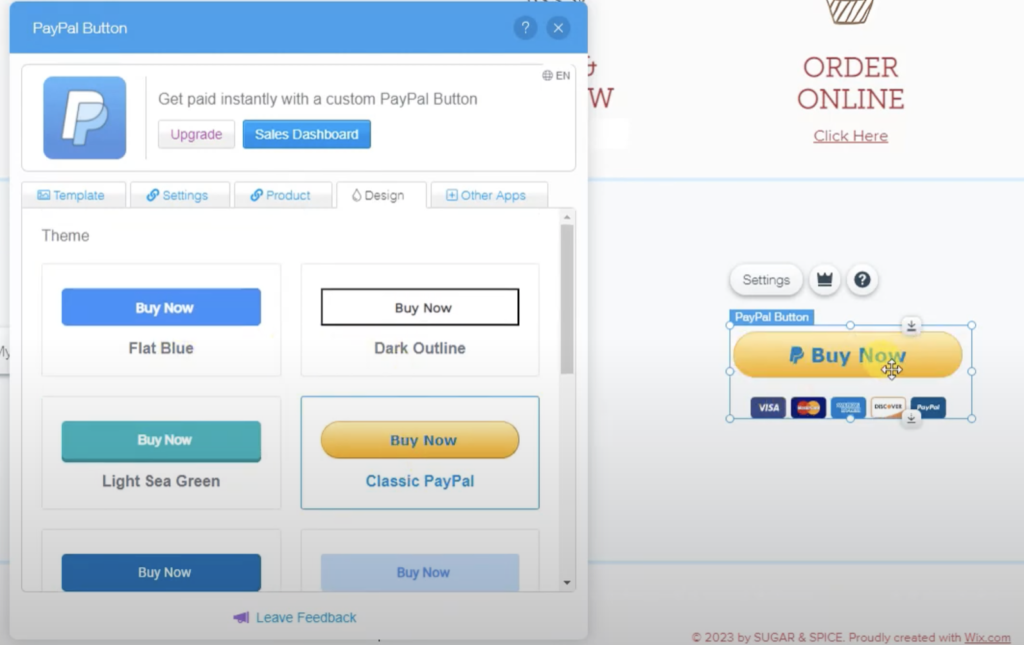
- If you click on [Settings] above the button, you will be able to choose from the different Button Types.
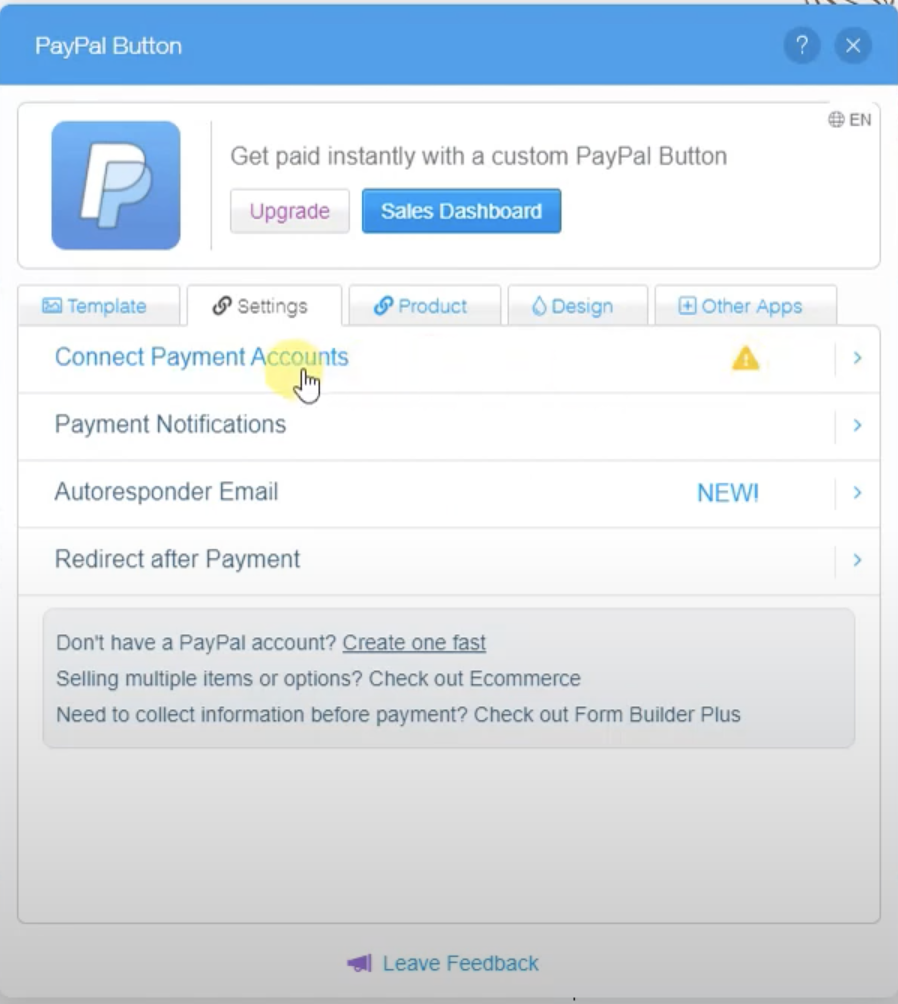
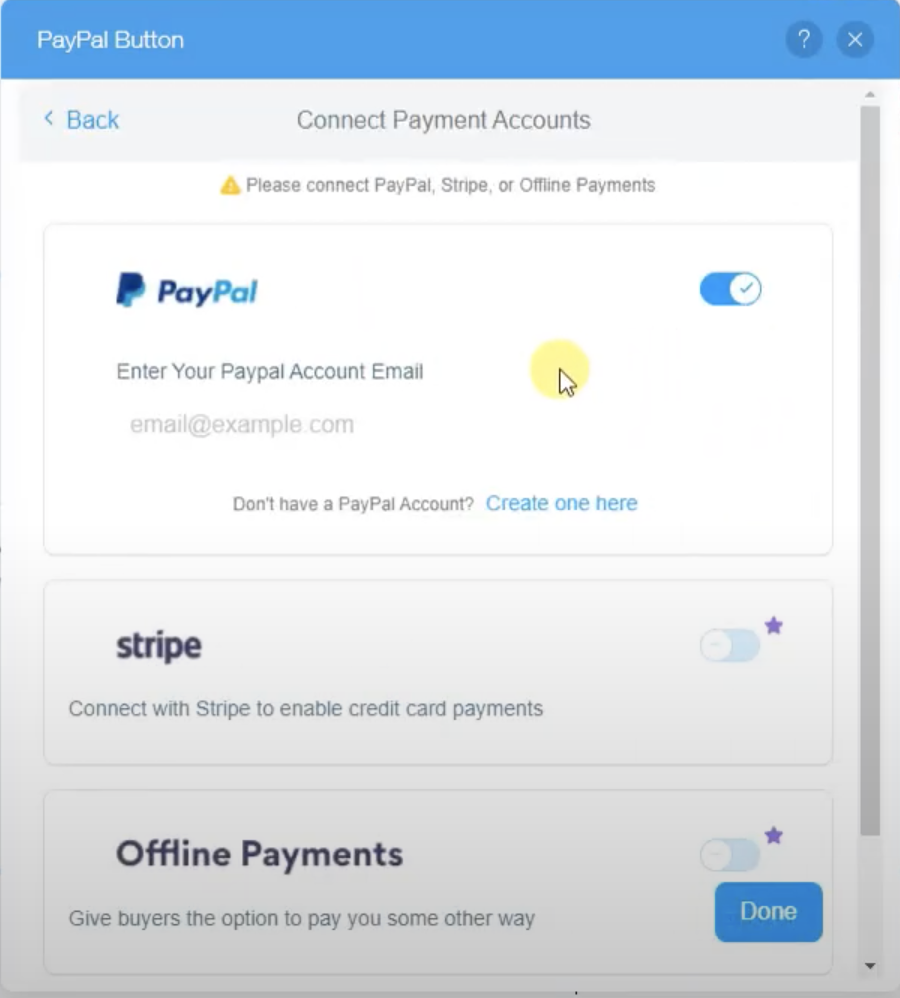
- Choose your desired Button Type, go to [settings] tab right next to the [Template] tab → Click [Connect Payment Accounts] → Enter your PayPal Business Account email, and click [Done].
- From the [Product] tab, you can set a fixed amount for your product/service/donation.
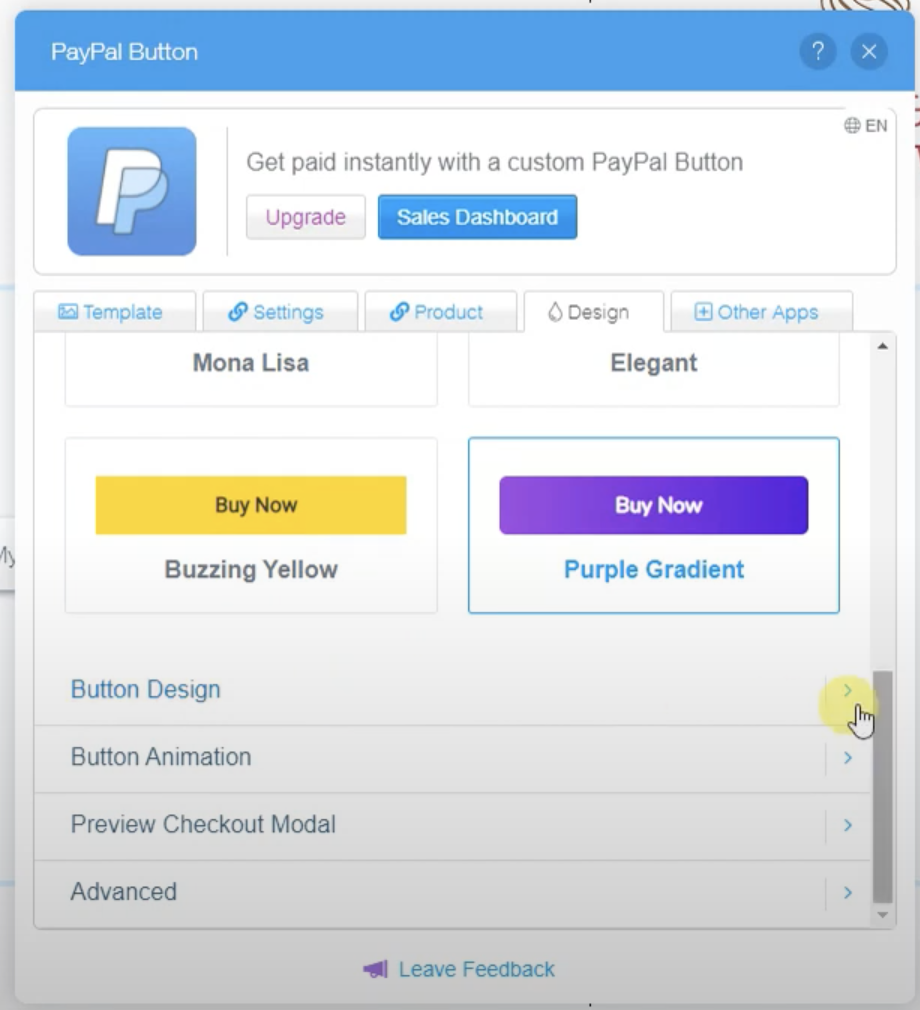
- You can also customise the button’s design in the [Design] tab. There are several themes you can choose from or you can scroll down to fully customise it yourself in the [Button Design].
Allow Your Customers To Pay Through PayPal Without a PayPal Account
Note that PayPal also allows customers that do not have a PayPal account to make online purchases via PayPal, with their credit or debit card instead. Follow below steps to enable this option.
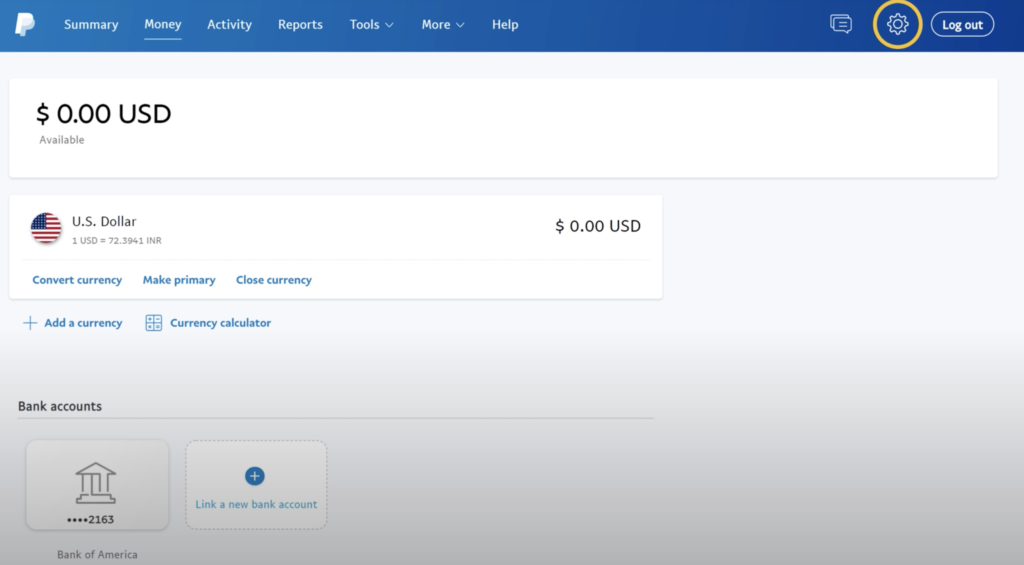
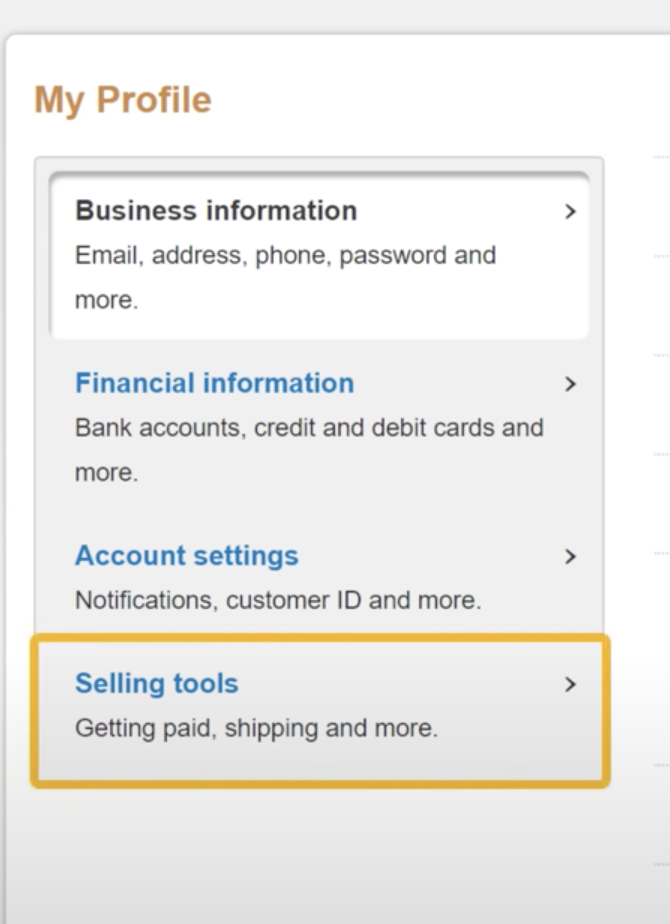
- Go to your PayPal dashboard (your Business Account) → Click on the settings icon at the top right
- Click ‘Selling tools’
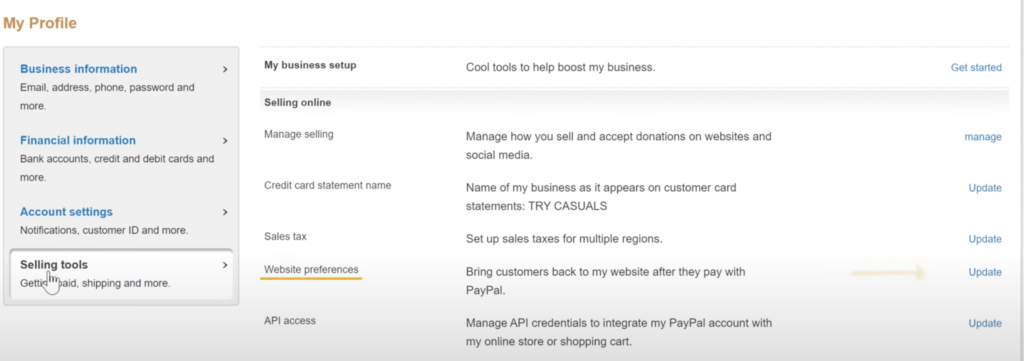
- Click ‘Update’, next to ‘Website preferences’
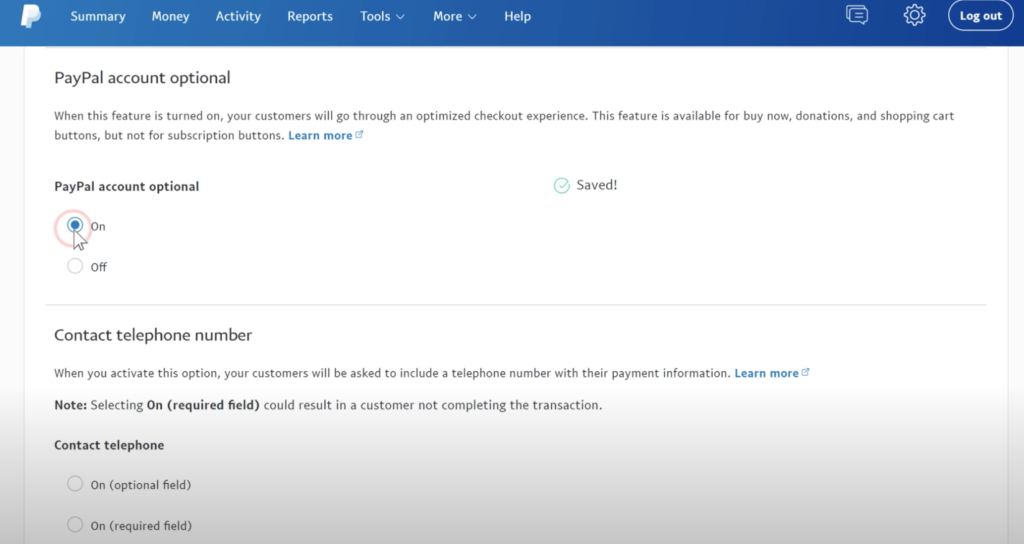
- Scroll down to find ‘PayPal account optional’ → Tick “On”!
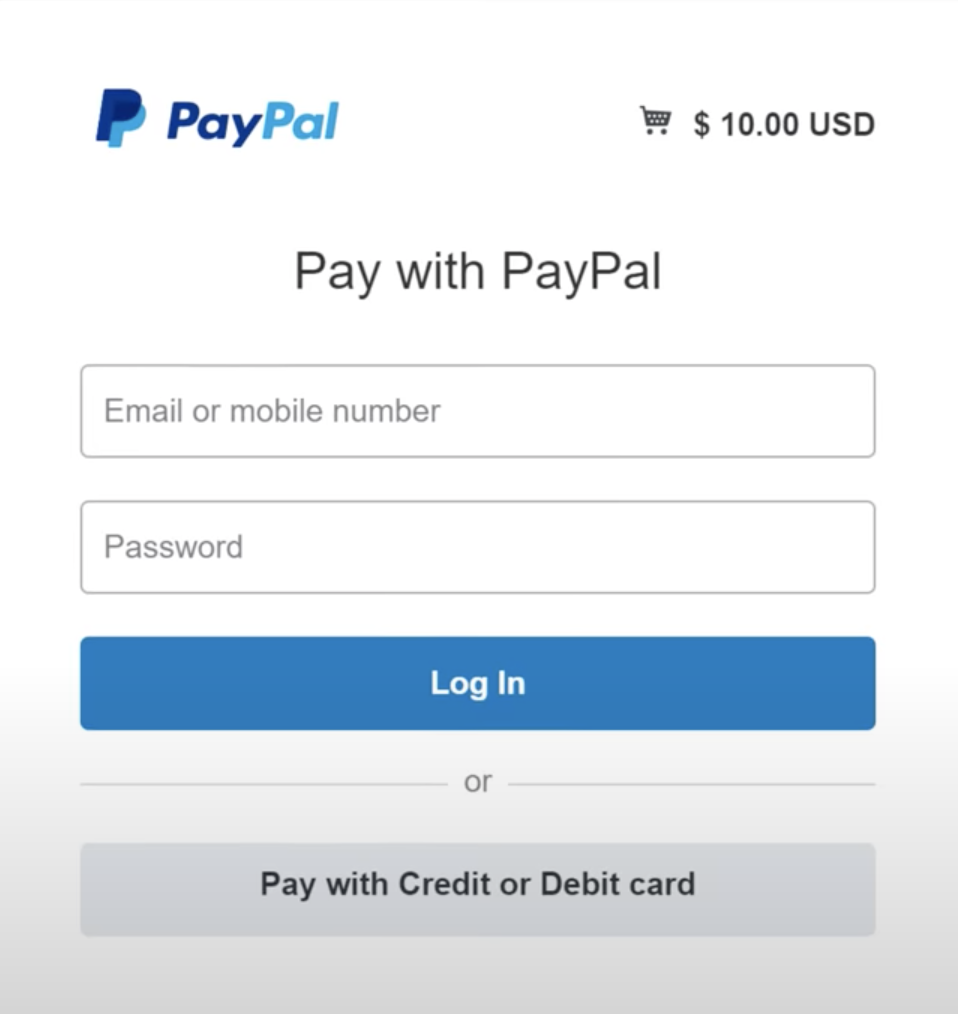
- Now your customers without PayPal account will be seeing the option to ‘Pay with Credit or Debit card’.
Manage Your Invoices and Payments with PayPal
Managing invoices, bills and tracking payments can be complicated and manual. If you use PayPal, you can streamline this process as all transactions will be recorded on PayPal.
PayPal offers a free invoicing service for Business Account holders – read more about how to use PayPal’s invoicing templates and to send out online invoices here: https://www.paypal.com/us/invoice/invoice-template-generator
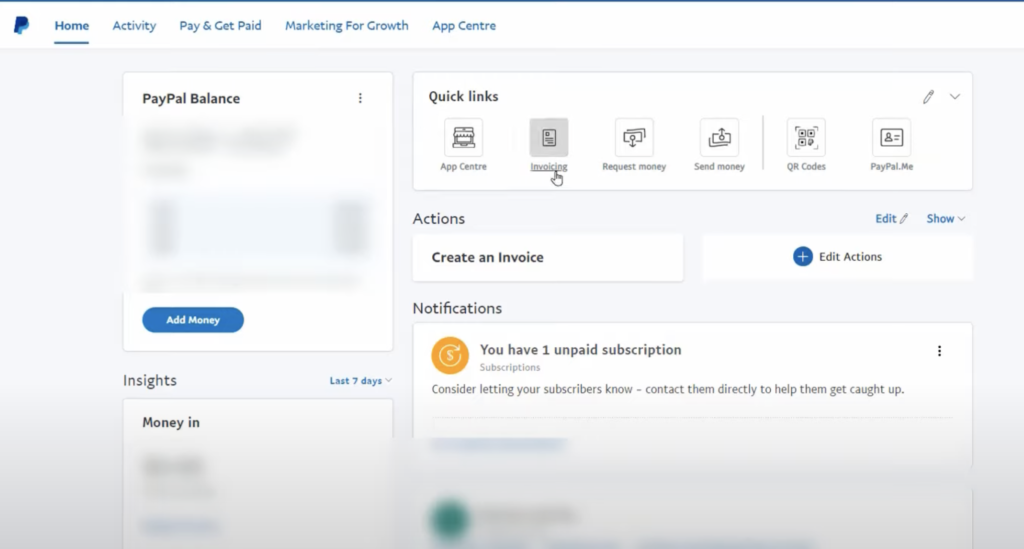
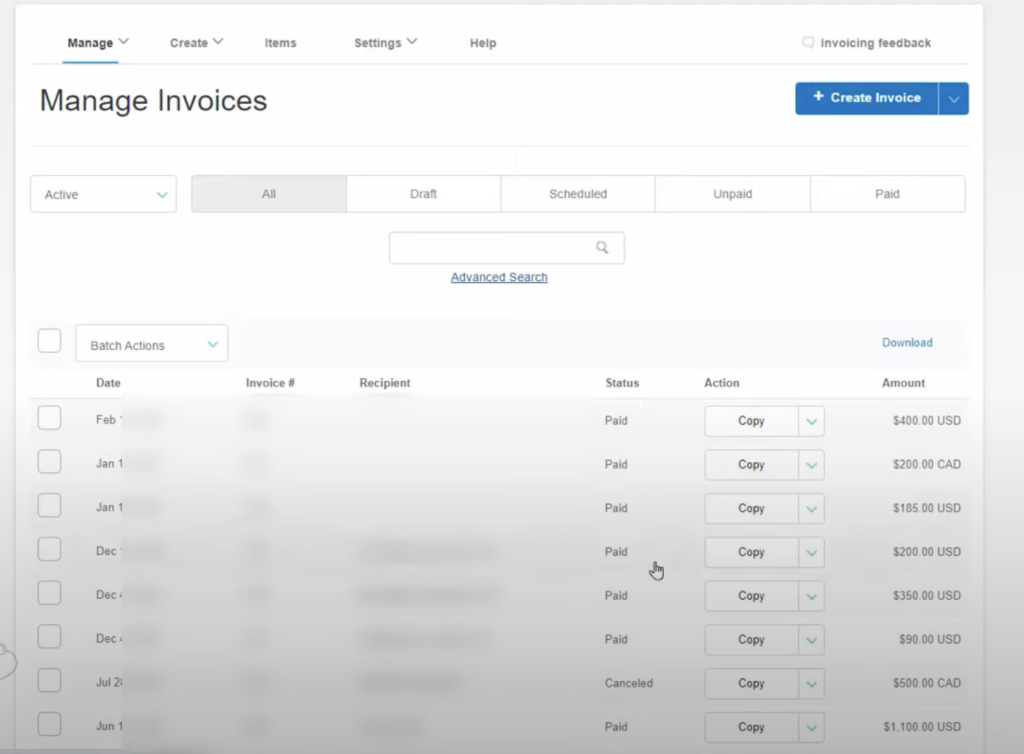
If you want to see the invoices you issued in the past, click on [Invoicing] in Quick Links on your PayPal account, or click [Pay & Get Paid] tab at the top banner. Here you will see all the invoices you sent out with the invoice number, recipient name, payment status, and the amount.
Watch the short video below to learn how to create and send invoices to your clients.
Fees and Commissions (as of April 15th 2022)
PayPal charges both fixed fee and commissions for transactions. Rates vary depending on the type of transaction, but the fee is fixed at HK$2.35 for commercial transactions. Details are following:
Additional Readings:
- PayPal’s Resources pages for businesses – https://www.paypal.com/us/brc/