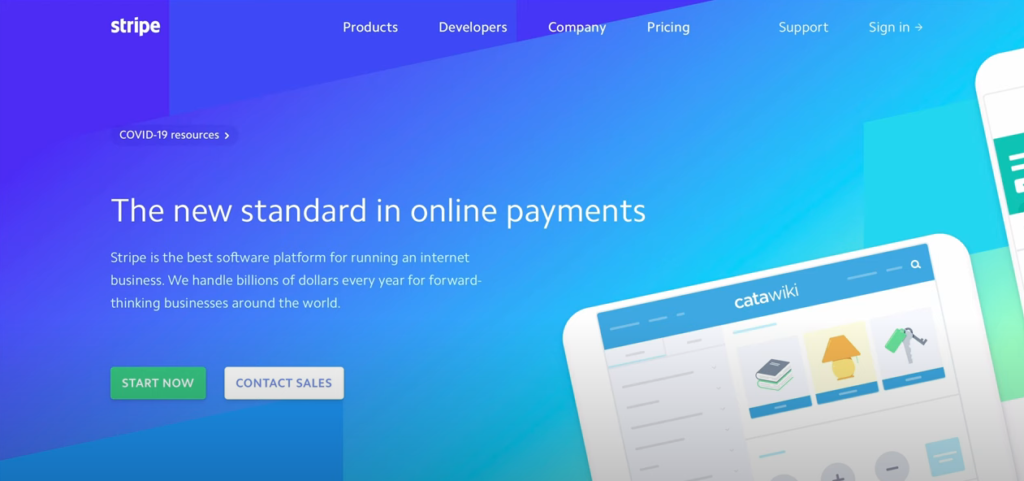
Introduction to Stripe
Stripe is one of the most popularly used payment processing software along with PayPal. This guide explains why you should consider using Stripe as your payment gateway, and how to integrate Stripe checkout on your website (built on Wix/ WordPress).

Stripe is a payment gateway that allows your customers to safely and efficiently transfer funds from their credit cards or bank accounts. It provides both one-time and subscription-based payments. Stripe and PayPal provide very similar services – read the guide: Payment Processing – Integrating PayPal with Your Website if you would like to know more about PayPal and how to integrate it with your website.
Stripe as Your Payment Gateway
Stripe offers a comparatively more business-friendly experience to users, where:
- The commission charged is lower than competitors such as Paypal.
- Stripe provides analytical tools for your transactions, such as:
- Advanced search functions (by card number, amount, customer, date, payment status, etc.)
- Visualised summary of your sales records
- Invoices page to automatically issue and record invoices generated from online sales
Watch this introductory video if you want to know more about Stripe and how to make the best use of it!
Get Started with Stripe
Setting up your Stripe Account
- Go to Stripe → Click on [Start Now]
- Fill in the blanks to create your account.

- You will be directed to your setup page, where you can verify your email.
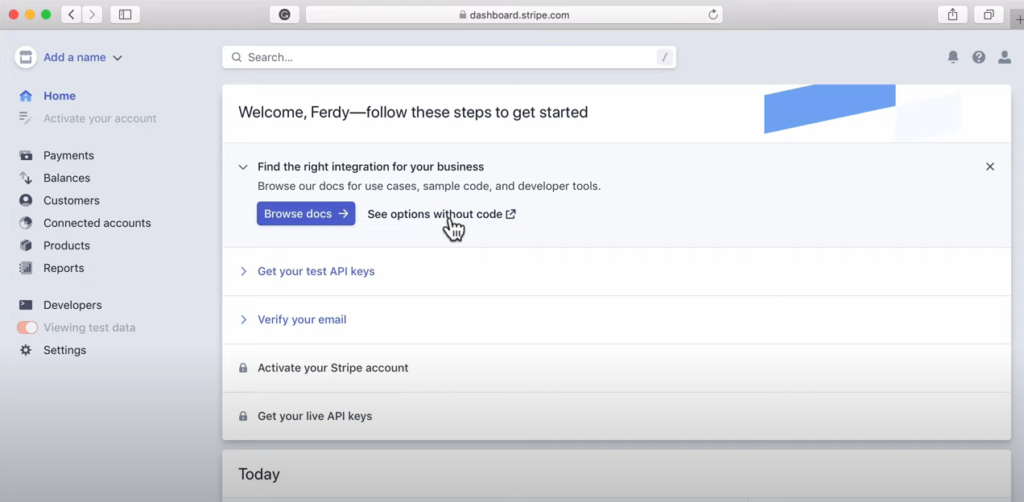
- Press [Start now] under ‘Activate your Stripe account’
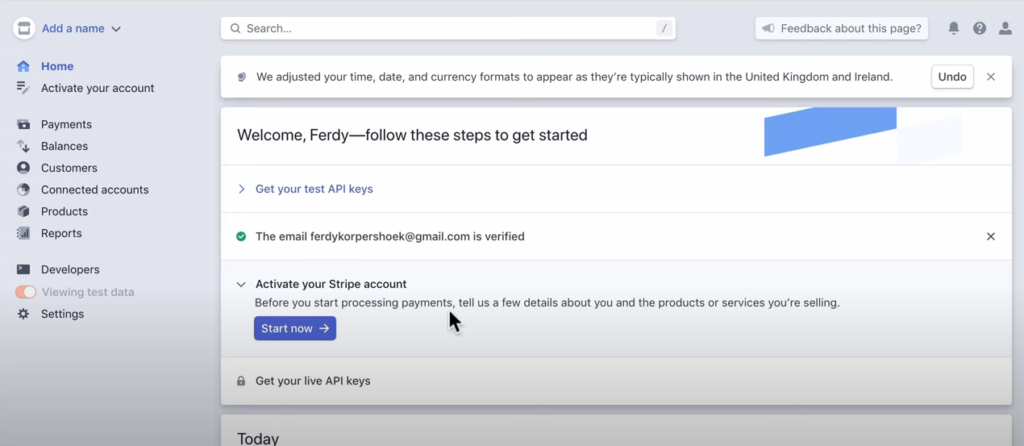
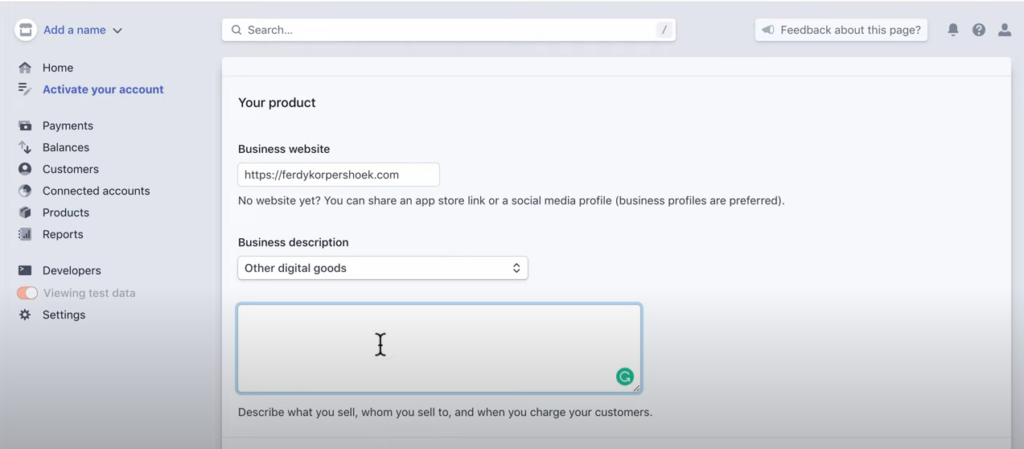
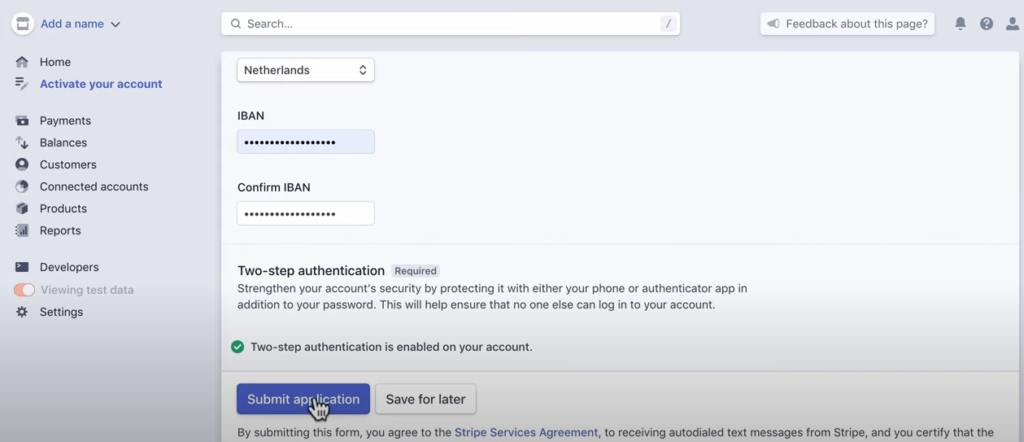
- In this section, you will be asked to provide details of your business and bank account.
- Submit your application after you fill all the fields in → it should only take a few minutes for the application to be approved!
Integrate Stripe with Your Website
1. WordPress Website
Once you have a Stripe account ready, it is quite straightforward to link it to your website. However, you need to have the WooCommerce plugin installed on your WordPress. The plugin is free, and easy to use.
Take 5 min to watch the video below to install the WooCommerce plugin, or follow our steps listed below.
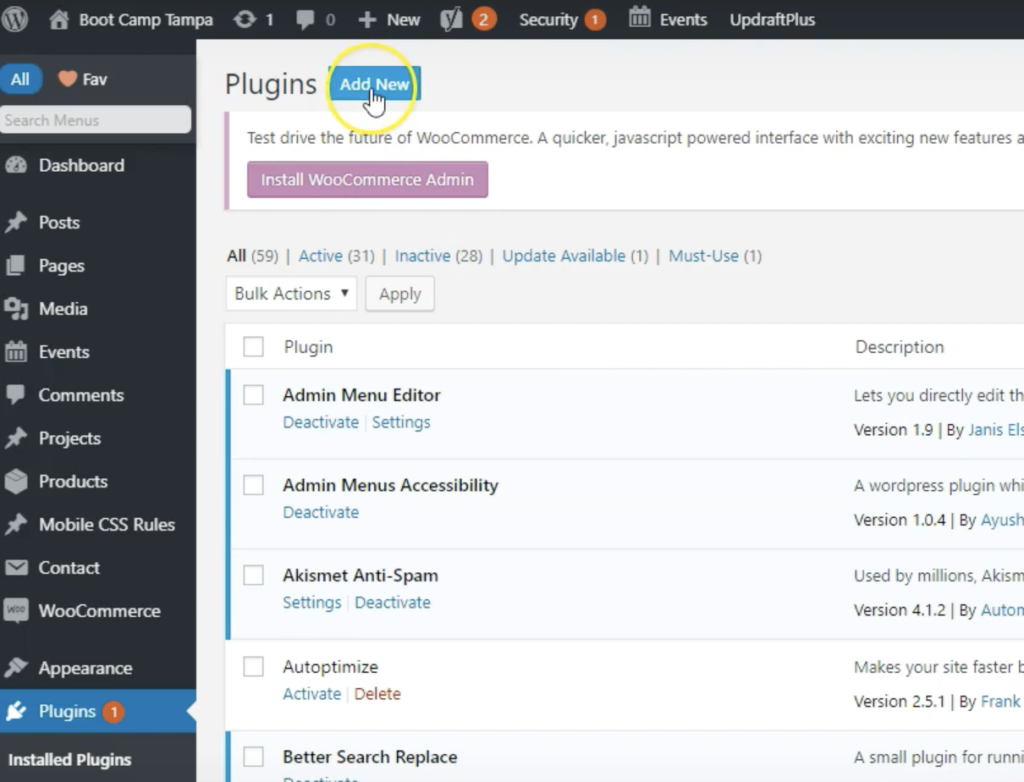
- In your WordPress Dashboard, go to [Plugins] → Click on [Add New]
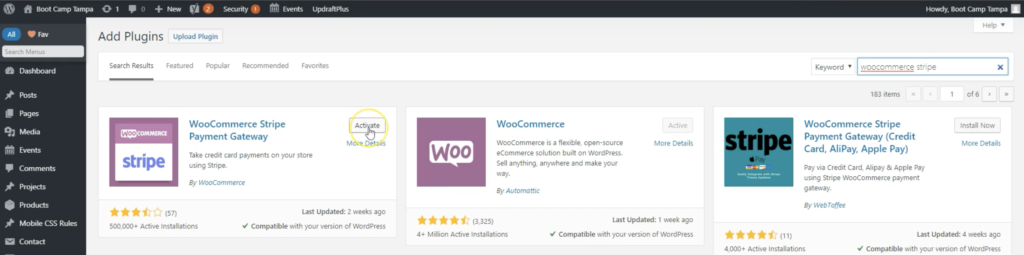
- In the search bar on the top right, search “WooCommerce stripe” → Install the plugin called [WooCommerce Stripe Payment Gateway]
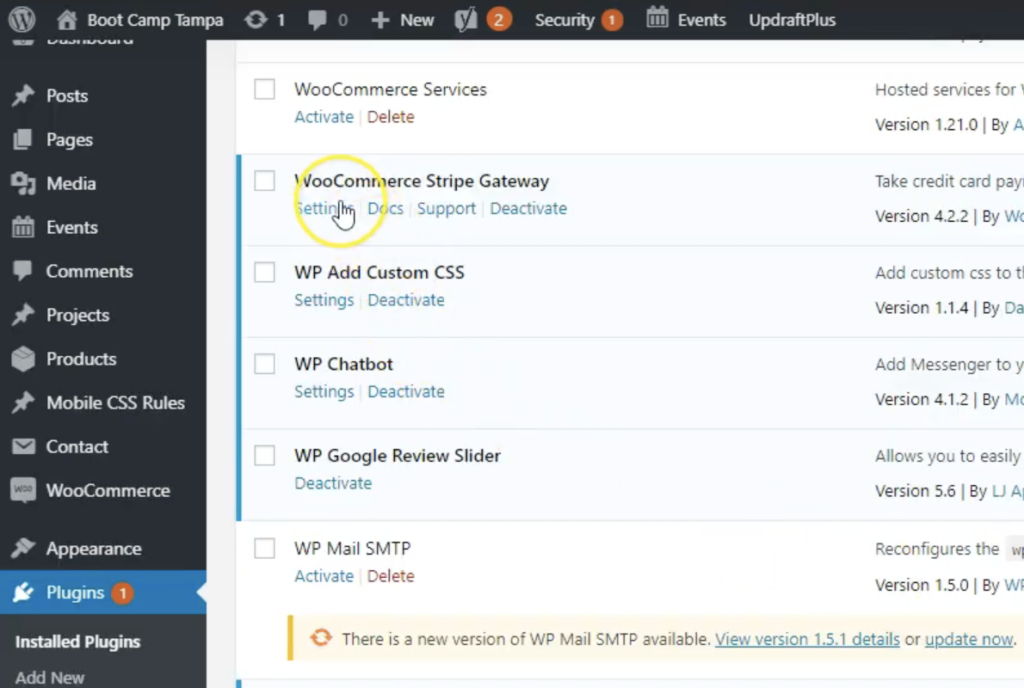
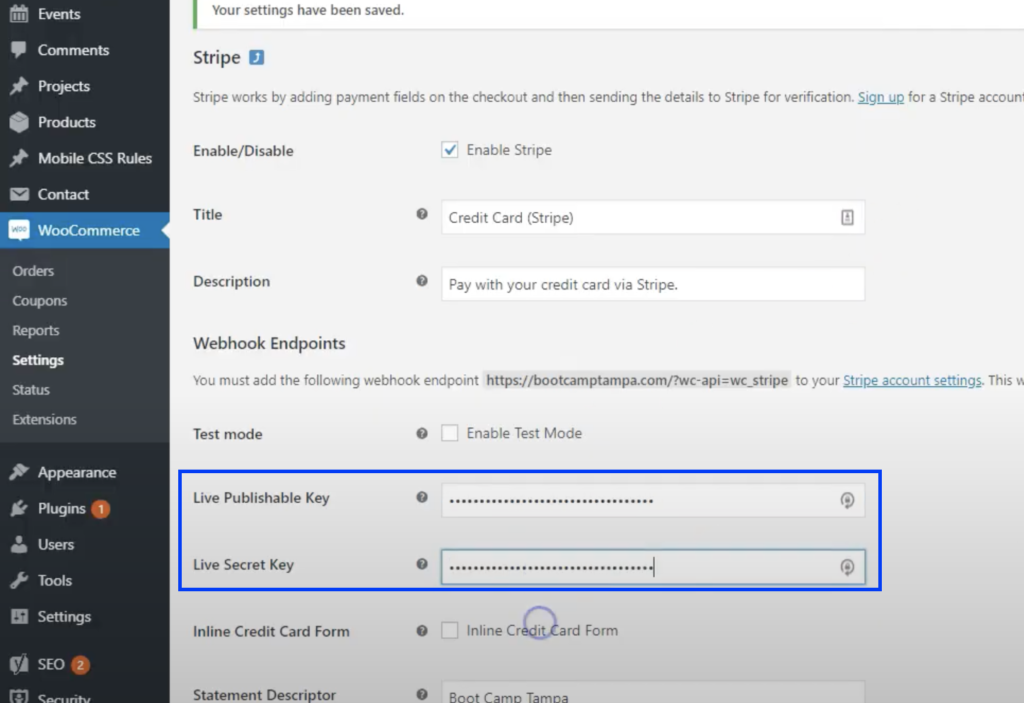
- Once installed, you should be able to find WooCommerce in the [Plugins] tab in your dashboard → click on ‘Settings’ under [WooCommerce Stripe Gateway].
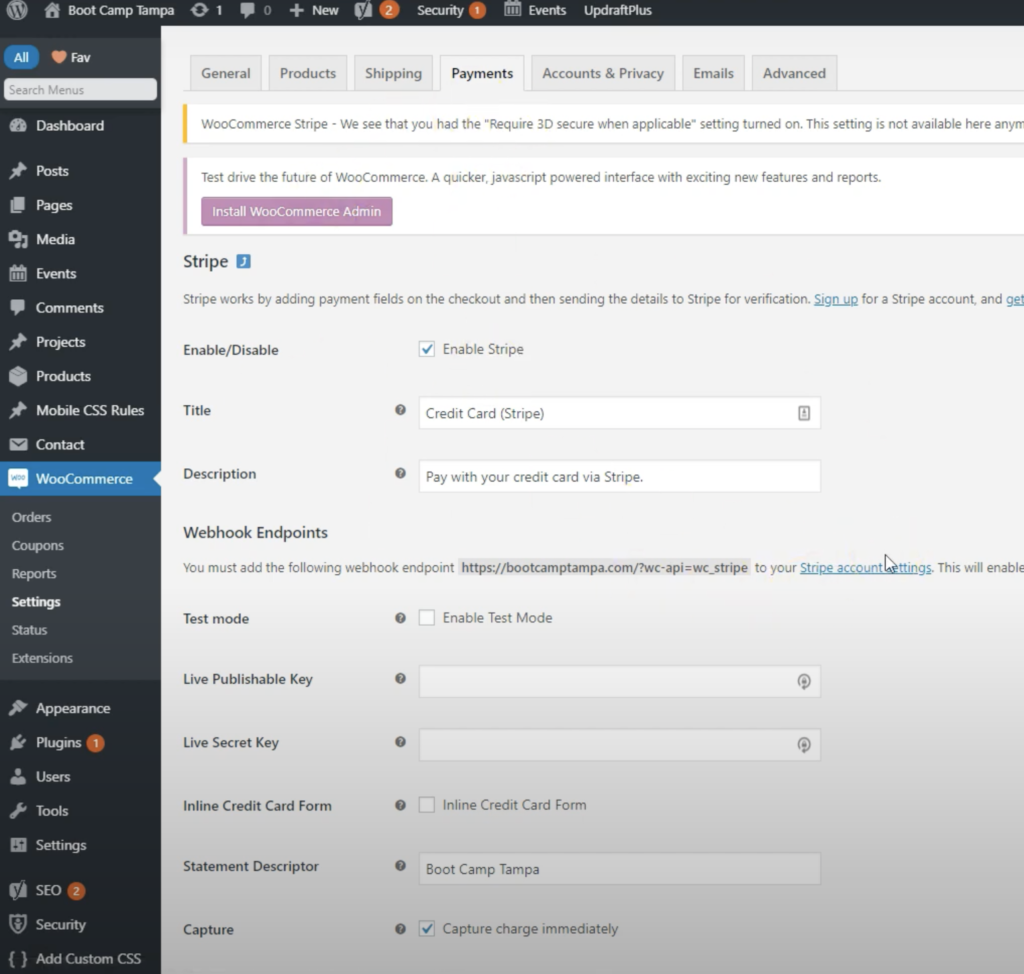
- You will be taken to a page like below. Make sure you have the ‘Enable Stripe’ box ticked.
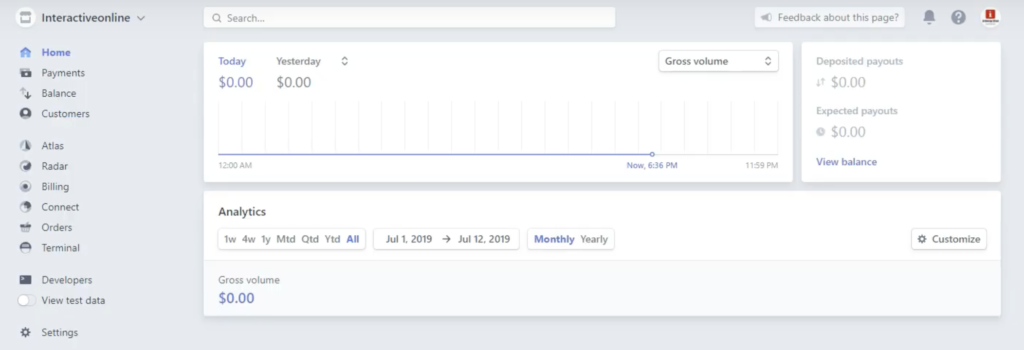
- Now, open your Stripe dashboard → [Developers] tab from the toolbar on the left.
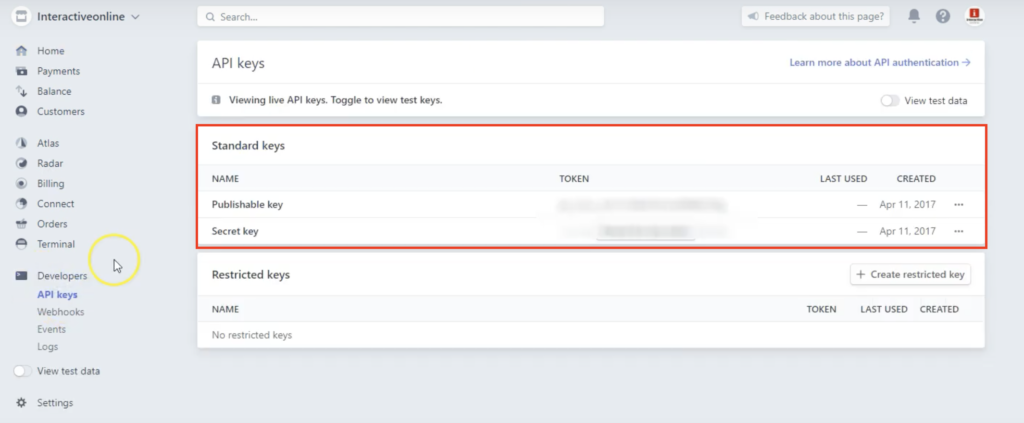
- You will see several sub-tabs under the [Developers] tab → Click on [API keys].

- Copy the ‘Publishable Key’ token and ‘Secret Key’ token and paste them on the WordPress dashboard, in the blue box shown below → Scroll down and click on ‘Save Changes’
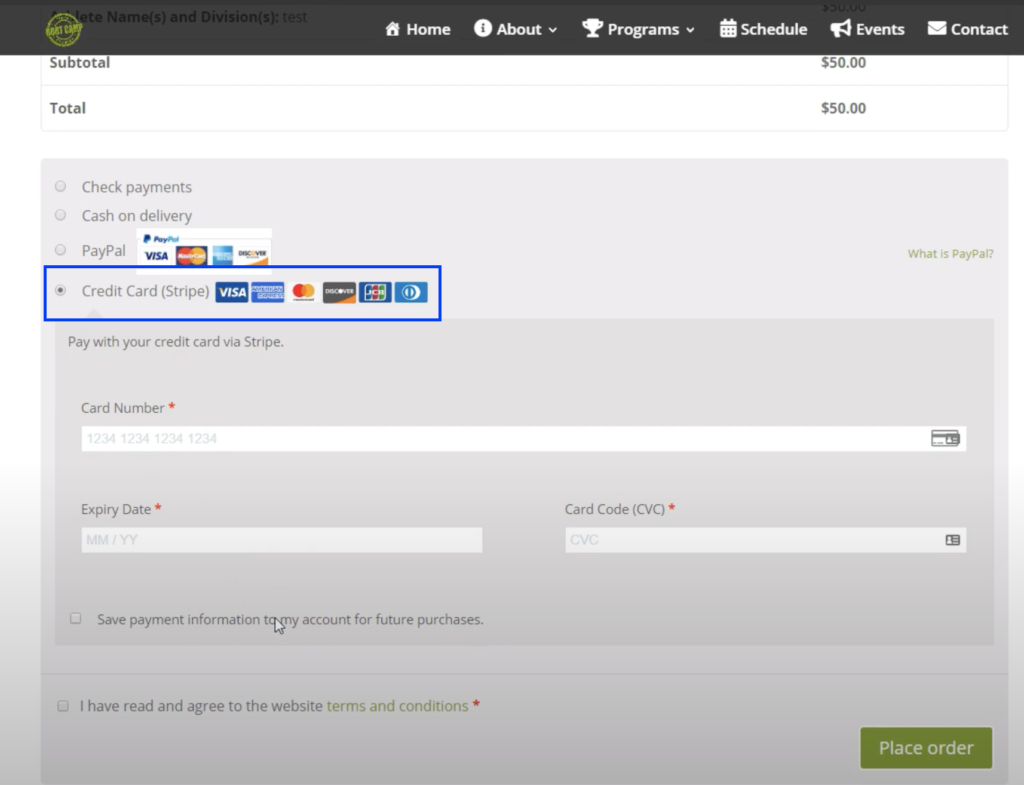
- Now, your buyers will be able to see the option to checkout using Stripe in their payment process.
2. Wix Website
Wix requires a premium hosting (paid plans) for you to receive payments on your website. Assuming you have subscribed to a paid plan, you can follow the steps below.
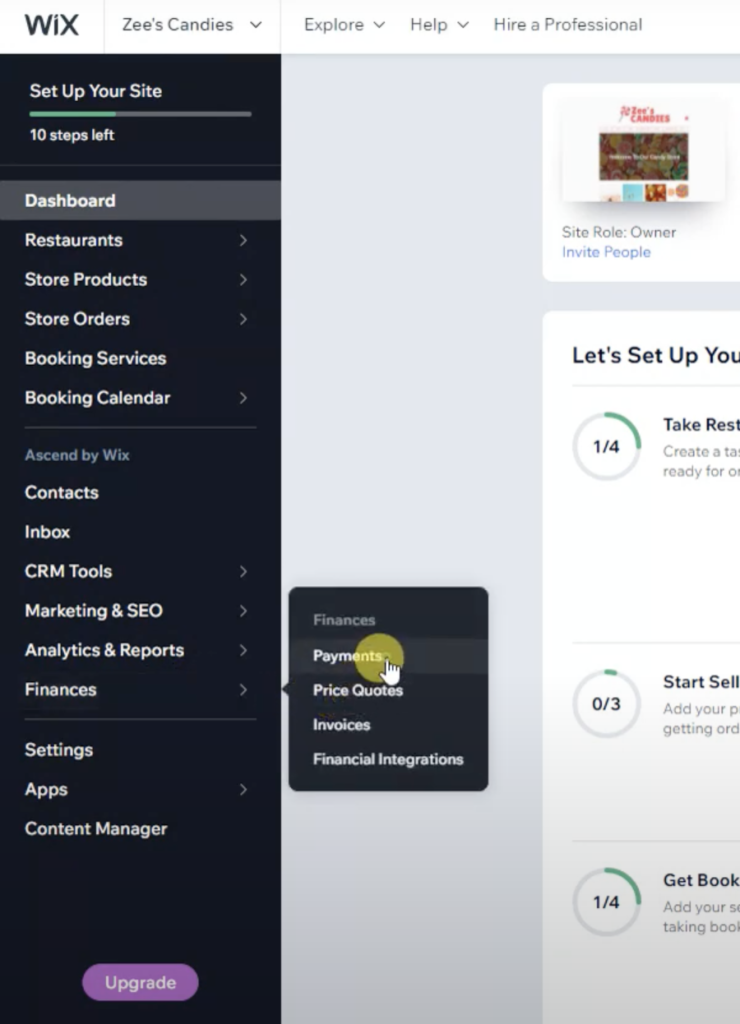
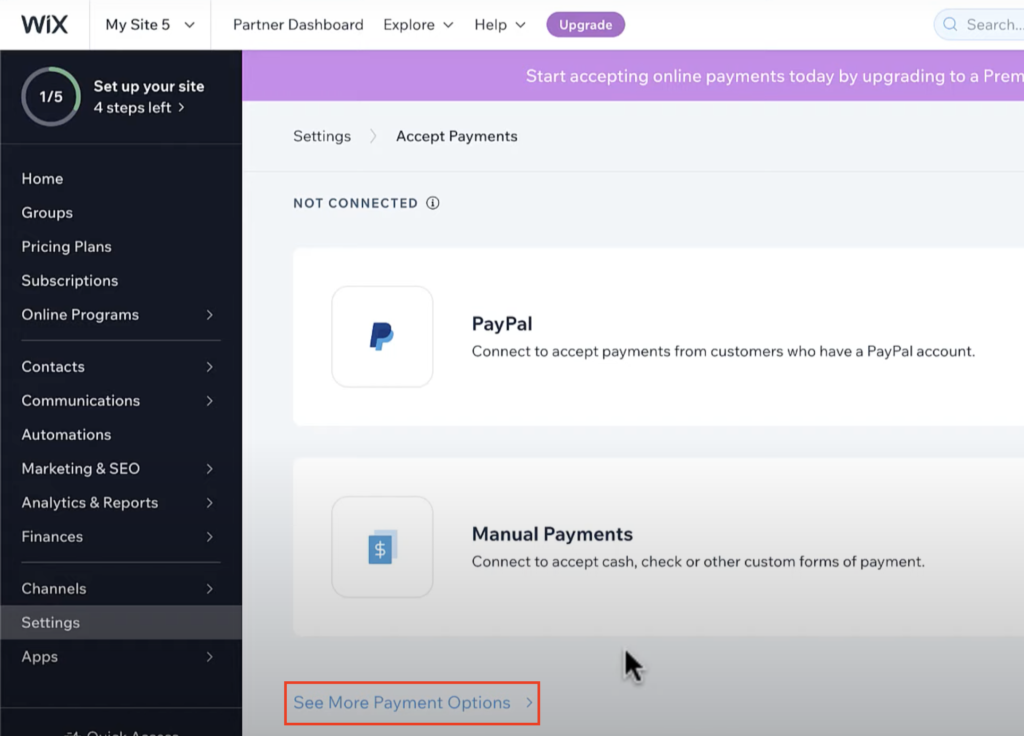
- Go to Dashboard → [Finances] → [Payments]
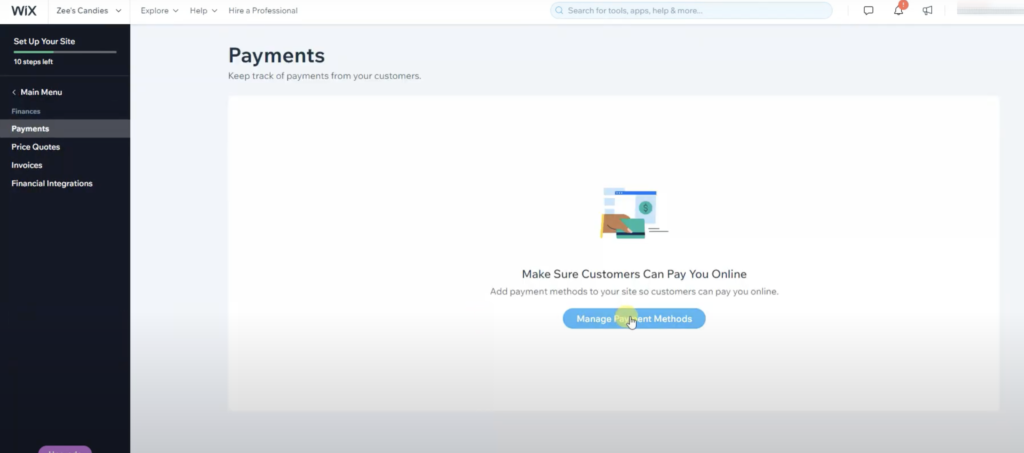
- Click on [Manage Payment Methods]
- You will initially see two options only; PayPal and Manual Payments → Click on [See More Payment Options]
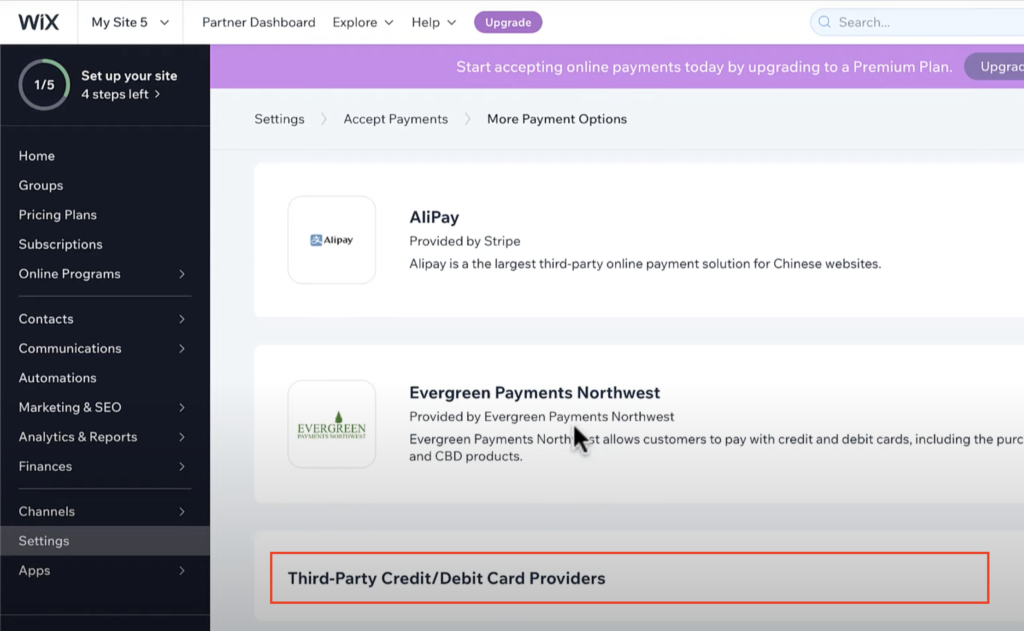
- Scroll all the way down and click on [Third-Party Credit/Debit Card Providers].
- Now you should be able to see Stripe → Click on [Connect].
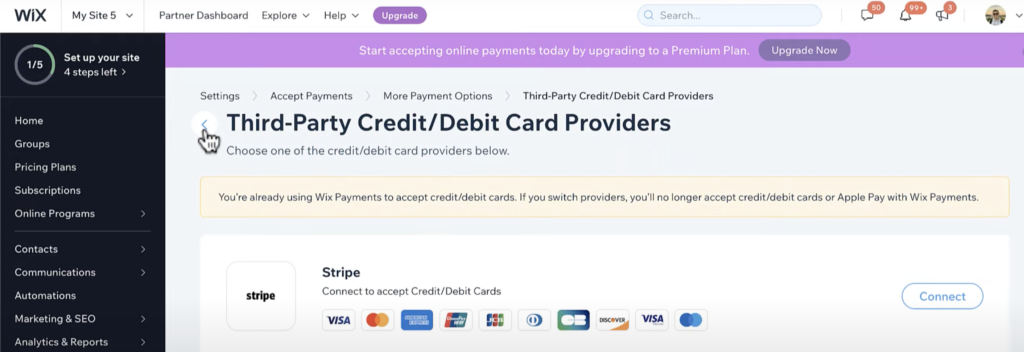
- Click sign in (with your stripe account, which you should already have now), and now it’s all set! Your customers will see a payment option for Stripe on the checkout page.
Fees and Commissions (as of April 23rd 2022)
Stripe’s pricing is straightforward and simple, where small businesses can opt in for the pay-as-you-go plan to pay a 3.4% commission on each card charge, as well as a HK$2.35 transaction fee per transaction. Stripe’s costs for Hong Kong-based merchants are in line with its pricing in Singapore and other Asian markets.
In comparison, PayPal charges you 3.9% commission on each charge on top of HK$2.35, and its rates can go higher depending on the type of transaction (see Payment Processing – Integrating PayPal with Your Website for more details).
Additional Readings
- For any guides and instructions for integrating Stripe with Wix, visit: support.wix.com
- For more information about invoicing the Stripe payments, visit: https://stripe.com/docs/invoicing/dashboard/manage-invoices